To upload an image
You can customize your channels by adding pictures as backgrounds, overlays or information. Collectively the images you upload to the system are known as branding images.
Branding images are only supported on custom local channels. See Add an HD Encoder as a source (custom channel) and Create a custom channel for details on creating a multi-source layout using VGA Grid HD Encoders.
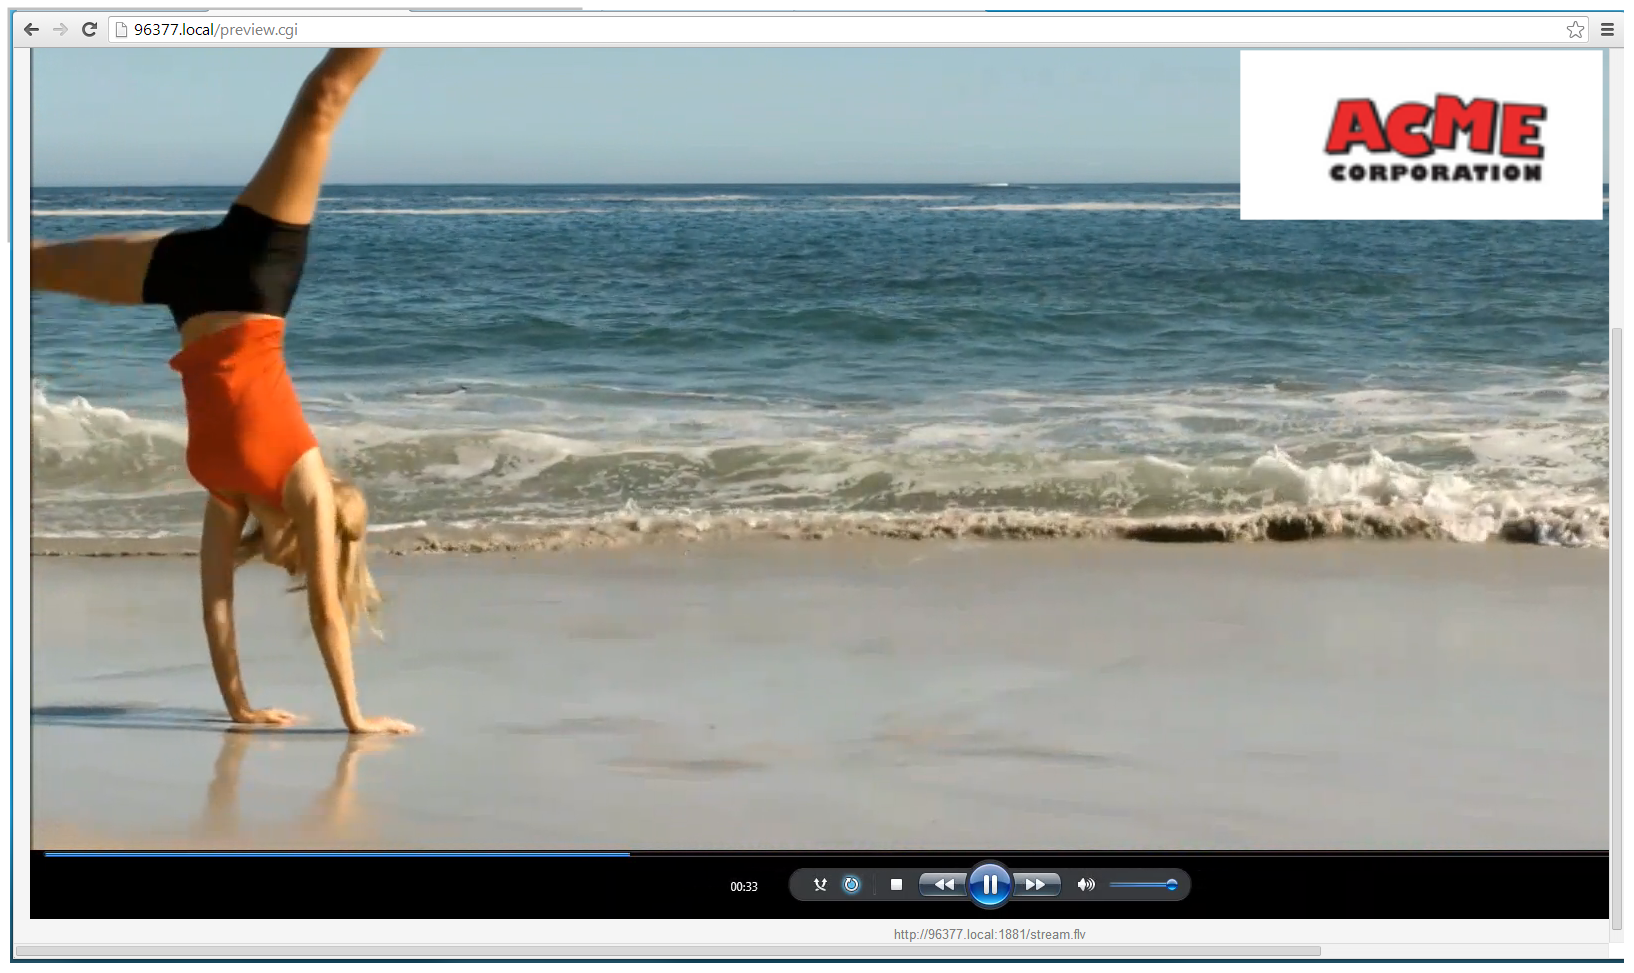
For best results always upload images that are already the correct size needed in your layout. Background images should match the frame size of your channel (frame size is set in the Encoding configuration page).
There are two ways to upload branding images. You can upload images to the branding page, as described in this procedure, or you can drag and drop images using the procedure described in Add an image (custom channel). Note that using the procedure below is the only way to see whether or not you'll be overwriting an existing image.
To upload a branding image to the branding page:
- Login to the Admin panel as admin. See Connect to the Admin panel.
- Click Branding
- Click Choose File; a browser page opens.
- Navigate to the folder on your admin computer that contains the logo.
- Select the file, the following file formats are supported: PNG and JPEG.
The maximum supported file size is 3840×2160. No warning or error message is displayed if your image is too large. Files that exceed the maximum size do not appear in the drop-down list when selecting an image.
- Click Open; the file is added to the File/template to upload field.
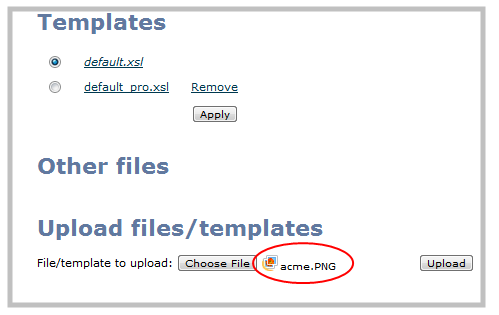
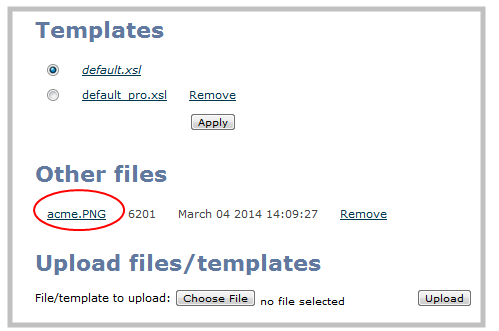
- Click Upload; the file is uploaded and displayed in the Other files section.
See the following topics to learn how to apply the logo, background, overlay text or other images to a channel:
