Custom channel layout editor
The visual channel layout editor gives you full control on size and position of the pictures, sources and text overlays you add to your
You can edit existing channel layouts or you can create a new channel or a new layout within a channel to work with. To add a new layout, see Create a local custom channel or layout.
To select a layout for editing:
- Login to the Admin panel as admin. See Connect to the Admin panel.
- Select your channel from the channels menu and click Sources for the channel.
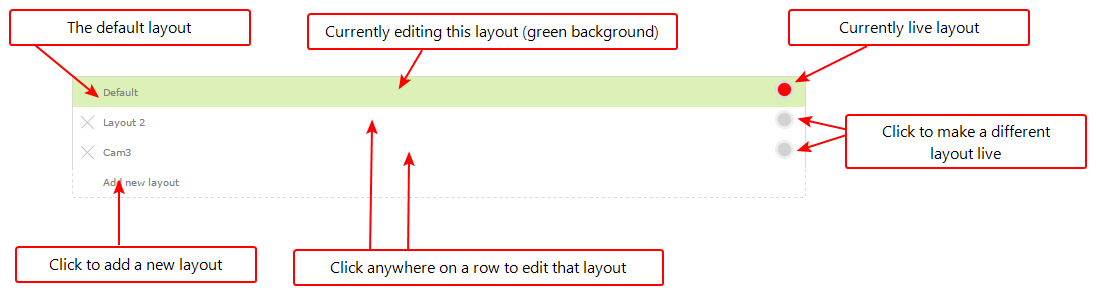
- Select the layout you want to edit by clicking anywhere in the layout row; the layout editor shows the current state of the selected layout for your channel and the row for the layout you're editing is highlighted green.
- If this is a new layout, you are presented with an empty layout area and a black background matte.
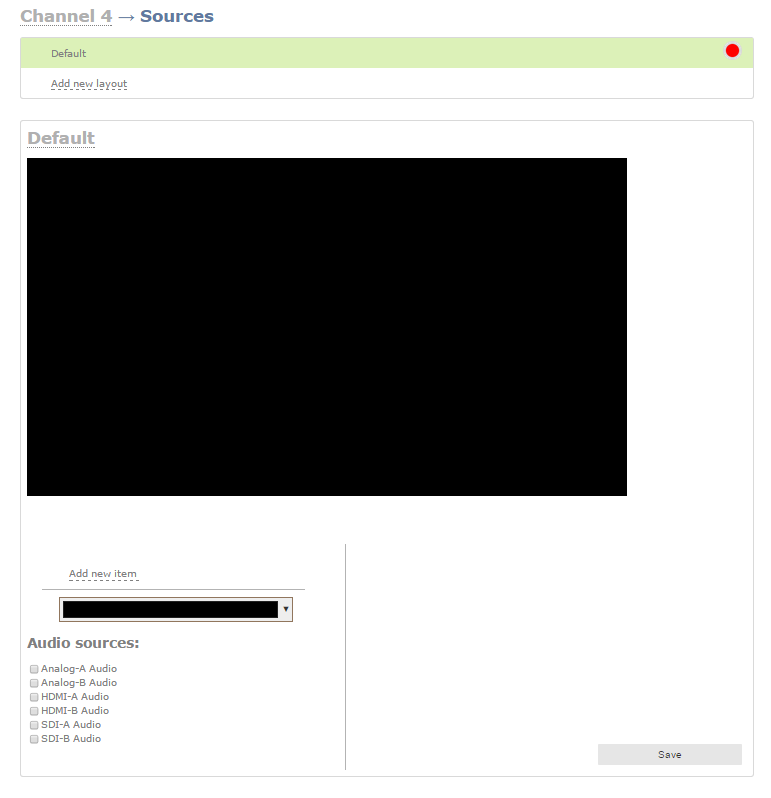
The Sources page and channel layout editor is broken into a few pieces.
Layout selector
First there is the layout selector. From here you can pick which layout to preview/edit, create a new layout, delete a layout or select which layout is active.
Visual channel layout editor
Next is the channel layout editor where you can add pictures, sources and text overlays to your layout. You can also choose the background matte.
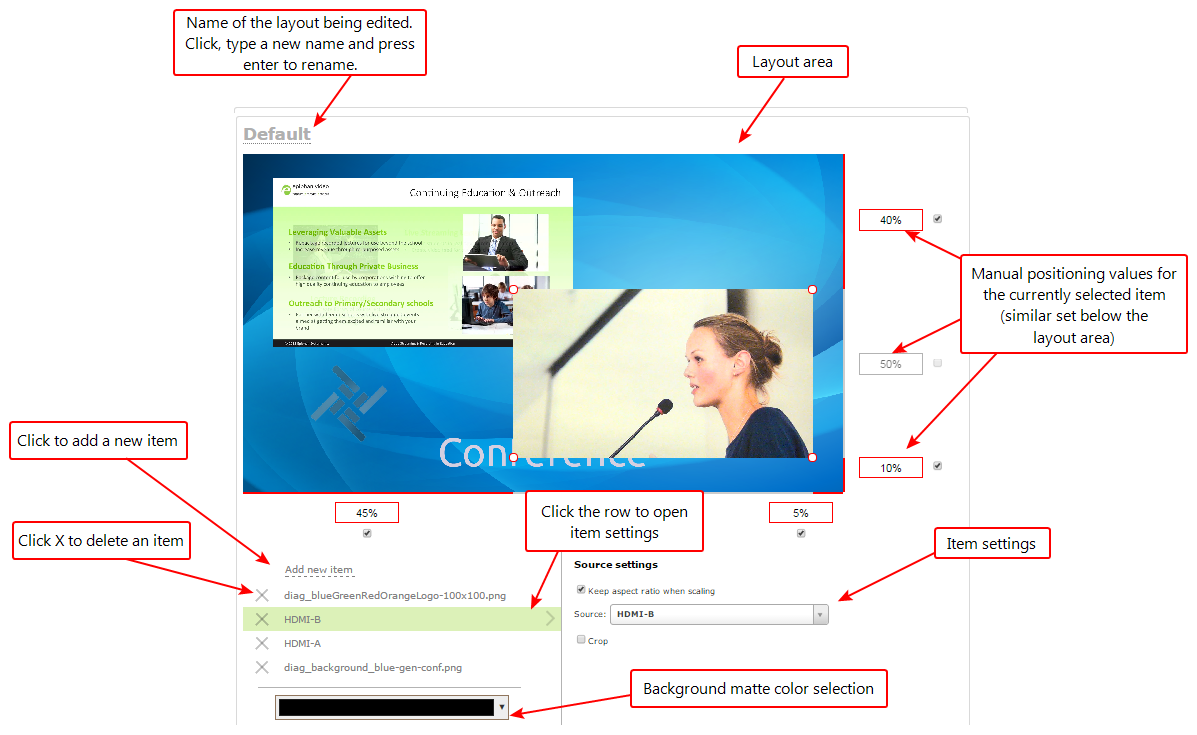
The heart of the channel layout editor is the layout area, which has the same frame size and aspect ratio as your stream. As you add items to the layout, they appear in the layout area. The currently selected item is presented in full colour while other items appear transparent.
To position the items you can use the mouse to click and drag, or you can use the manual positioning values to set a location as a percent of the screen (by typing a value followed by the percent sign, e.g. 4%) or in pixels (by typing a value followed by px, e.g. 16px).
You can resize items by clicking and dragging the red and white circles at the corners of the items or by using the manual positioning values. For example, entering 0% in all four of the outside boxes will stretch the item to the full size of the layout area.
You can modify the settings for each item by clicking the row. The item's settings box appears. See Add an image (custom channel), Add a video source (custom channel) and Add a text overlay (custom channel) for more details on item settings.
Audio source selector and save button
The last section of the Sources page is the audio selector and the (very important) Save button.
Select the audio source(s) you want to add to your channel.
Audio sources are mixed together at the same volume level as one another.
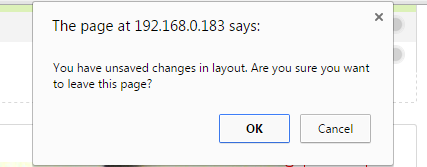
When you're done all your changes, use the Save button to save the changes to your layout.
If you accidentally try to leave the layout without saving, Networked VGA Grid reminds you to save before leaving.
Ready to make some layouts of your own? Try these topics:
