Enable UPnP
Enable UPnP to allow digital media players on the network to browse for recorded media files or live streams from your
Streams and MPEG-TS recorded files must use the supported codecs: H.264 with MP3 or AAC audio. Having a viewer password could prevent the ability to use UPnP.
Step 1: Enable UPnP at the device level
To enable UPnP:
- Login to the Admin panel as admin. See Connect to the Admin panel.
- Click the UPnP link in the Configuration section; the UPnP configuration page opens.
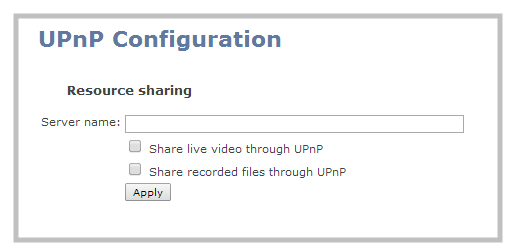
- Enter a name in the Server name field. If no name is provided the server name will be the
- Select whether you want to share live video and recorded files.
- Click Apply.
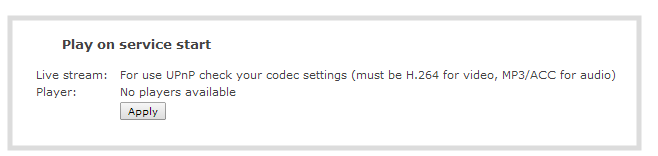
- If no live stream is available that meets the criteria for UPnP, a message is displayed in the Play on service start section of the page.
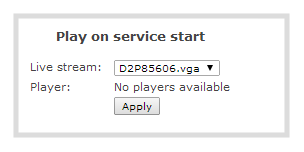
- Otherwise, the Play on service start section shows a drop-down list of what can be streamed.
Step 2: Enable UPnP for channels and/or recorders
After enabling UPnP for the device (for one or both of live stream sharing and recorded file sharing) you need to enable sharing for each channel or recorder you wish to share.
Enable UPnP sharing for the channels or recorders you want to share:
- For channels (live streaming):
- Click the Streaming link for the desired channel; the Streaming page opens.
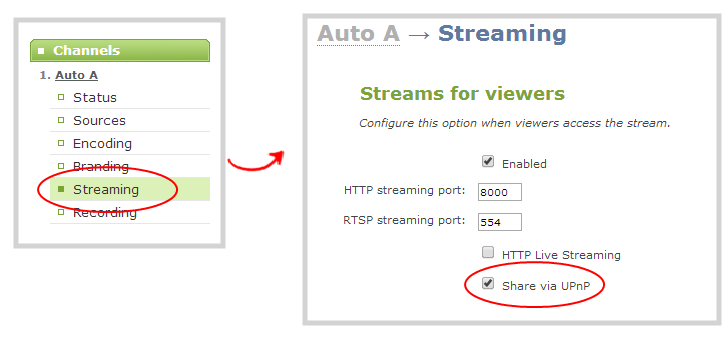
- Click the Share via UPnP check box (if not checked).
- Note, if you have not already enabled UPnP at the server level (see above), you are prompted with a message "UPnP live video sharing is not enabled with this device, to fix it, click here". Once you click the text "to fix it click here", the text changes to "will be fixed". The UPnP service will be started when you click Apply.
- Click Apply.
- For channels (recorded files):
- Click Recording for the desired channel; the channel's recording page opens.
- Click the word change next to the list of what is being recorded; the recording options expand.

- Click the Share via UPnP check box (if not checked).
- Note, if you have not already enabled UPnP at the server level (see above), you are prompted with a message "UPnP file sharing is not enabled with this device, to fix it, click here". Once you click the text "to fix it click here", the text changes to "will be fixed". The UPnP service will be started when you click Apply.
- Click Apply.
- For recorders:
- Click the link for the recorder from the Recorders menu; the recorder's configuration page opens.
- Click the word change next to the list of what is being recorded; the recording options expand.
- Click the Share via UPnP check box (if not checked).
- Note, if you have not already enabled UPnP at the server level (see above), you are prompted with a message "UPnP file sharing is not enabled with this device, to fix it, click here". Once you click the text "to fix it click here", the text changes to "will be fixed". The UPnP service will be started when you click Apply.
- Click Apply.
You can now browse for your server from your digital media player.
