Rename a channel
By default, channels are created with the same name as their source - until a second layout or a second source is added to the channel, at which time the channel is renamed Channel X where X is the index of the channel. However there may be circumstances when you want to create a distinct name for the channel to reflect the source(s) it contains.
To rename a channel:
- Login to the Admin panel as admin. See Connect to the Admin panel.
- From the Admin panel, scroll to the Channels menu option.
Click on the channel you want to rename; the menu expands.
- Click any link for the channel; the corresponding channel status or configuration page opens.
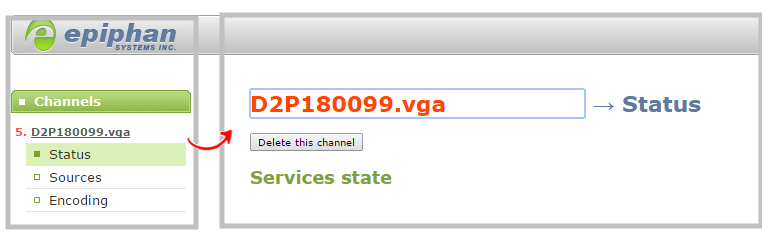
You can change a channel's name from any of it's configuration pages.
Click the channel name at the top of the channel configuration page; the name text becomes red to indicate that it is editable.
- Highlight the old name and press backspace or delete on the keyboard.
Type the new name, using alphanumeric characters. It's recommended (but not mandatory) that you use underscores to separate words, if needed.
Press Enter on the keyboard. The name is updated at the top of the screen and in the list of Channels in the navigation menu.
You must press the Enter key on the keyboard for the change to take effect.
