Standalone VGA Grid User Guide
Record a channel via the Admin panel
Each channel has a configuration page that allows you to start, stop and configure recordings.
To start and stop channel recording:
- Login to the Admin panel as admin or operator. See Connect to the Admin panel.
- Click the name of the desired channel; the channel menu expands.

- Click the Recording link for the channel; the Recording page appears.
- To start recording:
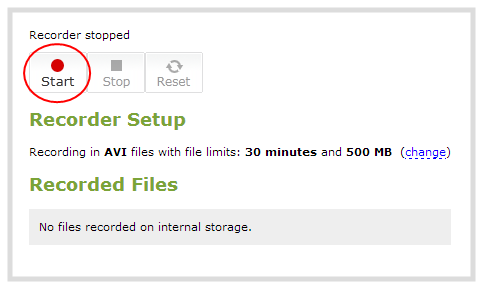
- Click the Start button; the recording starts and a timer indicates how long it has been recording.
If the Start button is not active, there are no active sources for this channel or recorder. Check your inputs to ensure signals are working as expected.
- You may browse away from the page without affecting the recording. When the page refreshes, the channel number is displayed in red to indicate recording is underway.

- The
To stop recording:
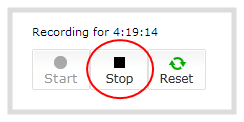
Click the Stop button on the given channel’s Recording page. The channel number changes to black next time the Admin panel is refreshed (by clicking a link or refreshing the page).
