Controlling streaming and recording using Epiphan Live
You can control the streaming and recording of channels and recorders directly from the Epiphan Live Dashboard interface.
Stream and record channels
Streaming and recording control buttons are located under the Channels heading in the Dashboard view.
For each channel, the stream control is the left-most button containing the "signal" icon, and the recording control is the right-most button containing the circle icon.
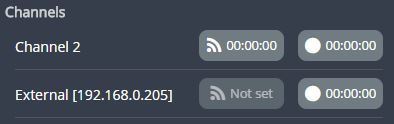
When a channel is not being streamed or recorded, the streaming and recording buttons are gray in color and their respective timers are set to 00:00:00. If streaming has not been configured in the Admin panel, the streaming button will display the text "Not set". See Stream to viewers to learn how to configure streaming in the Admin panel.
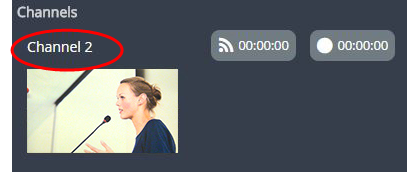
You can preview a channel by clicking its name to display a small dropdown thumbnail view.
To start streaming and recording a channel, simply click the channel's streaming and/or recording buttons.
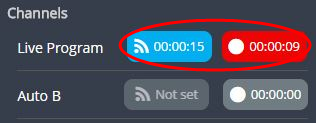
When clicked, the streaming button turns blue in color and the recording button turns red. The timer contained within each respective button also begins to count upward.
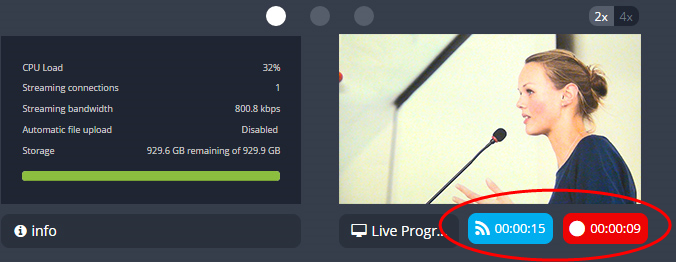
Alternatively, you can also control streaming and recording of a channel via the Dashboard's monitoring panels. See Configuring Dashboard panels for visual confidence monitoring for more information.
If the stream is not able to publish, the streaming button flashes blue and displays "ERROR".

In this case, check the streaming configuration settings for your channel in the Admin panel. (See Stream to viewers to learn how to configure a stream).
Record a Admin panel Recorder
In Standalone VGA Grid you can use Recorders to capture multiple channels at once. Epiphan Live Dashboard view allows you to use Recorders with the using the button(s) located in the Recorders section. Note that the Recorders section only appears if you have taken the steps to Add a recorder via the Admin panel.
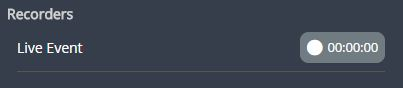
When a Recorder is not being recorded, the recording button is gray in color and its timers is set to 00:00:00.
To start recording a Recorder, simply click the corresponding button.
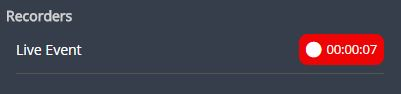
When clicked, the recording button turns red. The timer contained within the button also begins to count upward. Click the button a second time to stop the recording.
