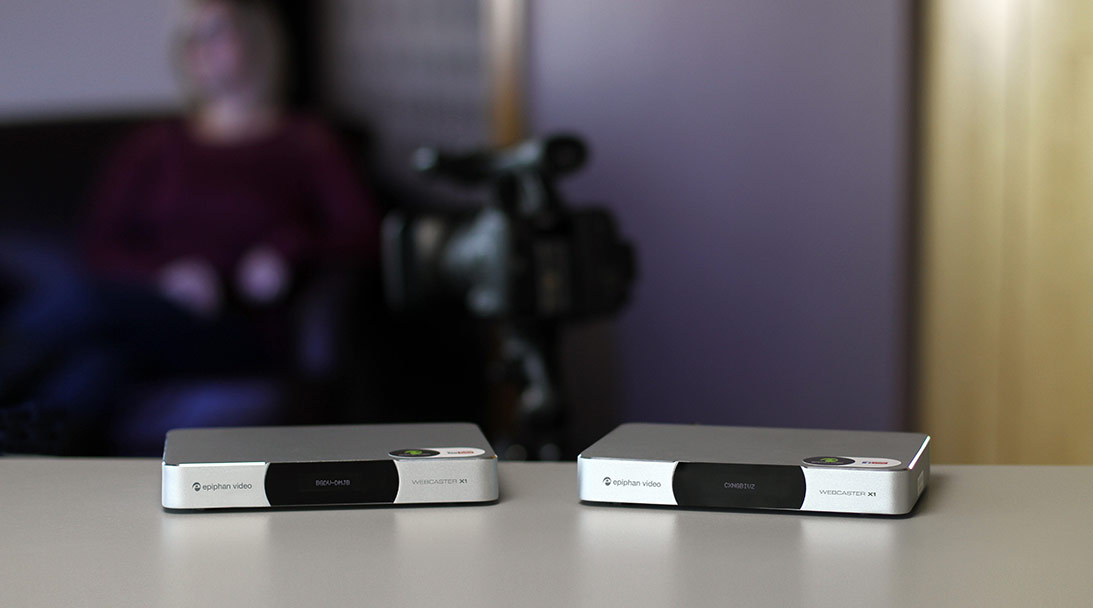
Since the recent release of our two new social media streaming devices—Webcaster X1 for Facebook Live and Webcaster X1 for YouTube—aspiring content producers have been very excited with the concept of streaming an HD camera to either Facebook Live or YouTube using a simple Webcaster X1 device code.
 However, social streaming isn’t limited to using only a single camera in live broadcasts. Our popular live production switchers, Pearl and Pearl-2, can push streams via RTMP containing many different sources and layouts to Facebook Live and YouTube (among many other CDNs). (Note that we have a How-to article that covers this exact process in more detail, if interested.)
Both Pearl products have comprehensive feature sets that meet and exceed the needs of most high-end live productions. But what if you wish to stream multiple cameras to a social platform but don’t require all the features our Pearl and Pearl-2 appliances have to offer? Or perhaps you prefer a lower cost solution for live streaming multiple sources to your social followers?
If that sounds like you, then I have some good news.
Streaming more, with less
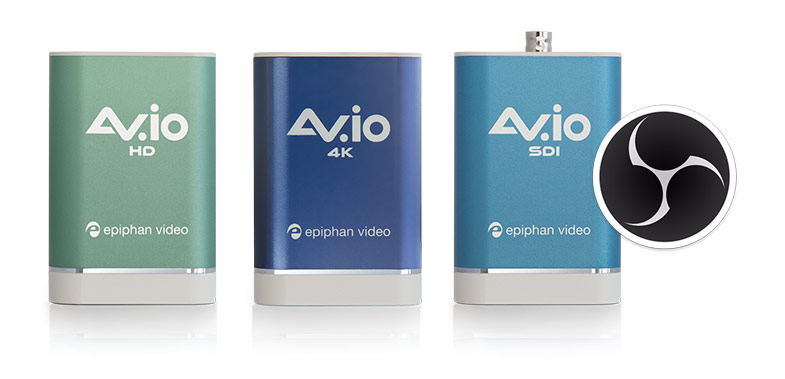
Using Epiphan’s simple-to-use AV.io video grabbers with a free open source streaming application, such as OBS Studio, you can create an affordable setup for live multi-source streaming to your favorite social platform.
 We’ve listed OBS Studio as one of the best live streaming platforms, and for good reason. With OBS Studio, you can create any number of “scenes” (also known as “layouts”) containing any combination of your sources. And when your stream is published and you’re broadcasting live, you can switch between these scenes with the click of a button.
OBS Studio allows you to add the following types of sources in your scenes for multi-source streaming:
- Display sources (e.g. monitors attached to your capture computer),
- Media files (like video files or recordings),
- Image files (e.g. backgrounds or overlay text),
- Game capture devices (i.e. video game applications),
- Video capture devices*, and more.
*The “Video capture devices” category includes things like webcams, capture cards, or any type of video device connected to your computer. Therefore, all AV.io capture devices (AV.io 4K, AV.io SDI and AV.io HD) fall under this category.
The beauty of our AV.io grabbers is their ease of use. All you have to do is connect your HD, SDI or DVI sources to the device and then connect the device to your capture computer via USB 3.0—with only a little bit of configuration required in OBS Studio.
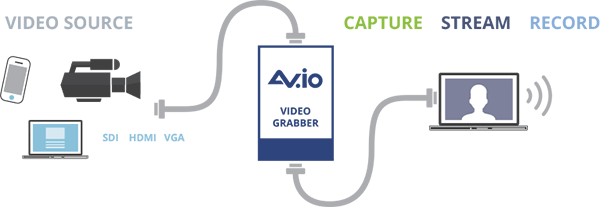
Multi-source streaming in a nutshell
From here, simply add your AV.io grabber as a source to any of your OBS Studio scenes, and then add any other additional sources as you wish. You can combine your HD camera (captured with your AV.io grabber) with your capture computer’s integrated web cam, content on separate display monitor or even another HD camera (or a laptop, tablet or video game console) using a second AV.io device.
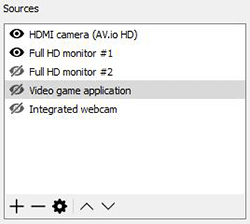
This combination of custom sources allows you to adapt to any use case and effectively create a low-cost, yet high-quality multi-source production.
For example, you can use AV.io capture devices with OBS for:
- Conferences – film a guest or keynote speaker with your HD camera and switch to the speaker’s presentation slides to add depth to the live stream
- Vlogging – film yourself with your HD camera and switch to a screencast view when necessary to better connect with followers/subscribers
- Gaming – capture high-quality gameplay from a video console (using AV.io device) or video game application on your capture computer (with OBS) and switch to a webcam or HD camera scene for commentary to create a more engaging live stream
- Teaching – film yourself with your HD camera and switch to an application on a second display monitor to better help instruct others
- And much more.
Best of all, you can mix and match any of these sources to create custom source-in-source scenes and then switch between these customized scenes as needed.
And configuring the encoding and streaming settings in OBS Studio is relatively easy too. OBS Studio contains a list of popular CDNs, including social platforms such as Facebook Live. Selecting a CDN from the list tells OBS Studio where you’d like to broadcast, so you don’t need to manually locate and input your selected CDN’s server URL or RTMP information. All you need to do is set your frame size, frame rate, bitrate and any other additional settings such as audio, as required.
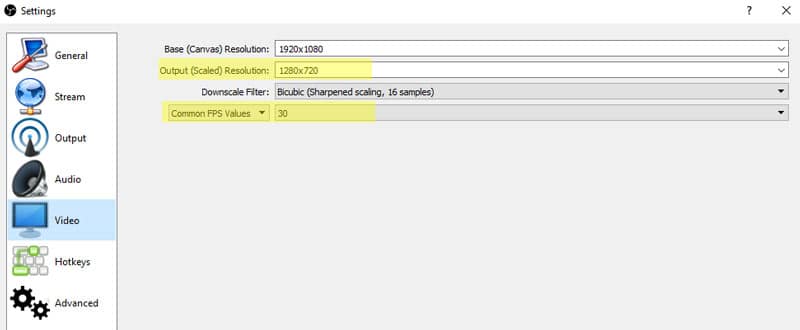
Let’s assume you’d like to stream to Facebook Live. With your pre-production all set up in OBS Studio, you need to create a new Facebook Live post and copy the supplied stream key. Return to OBS Studio, enter the stream key and begin your broadcast.
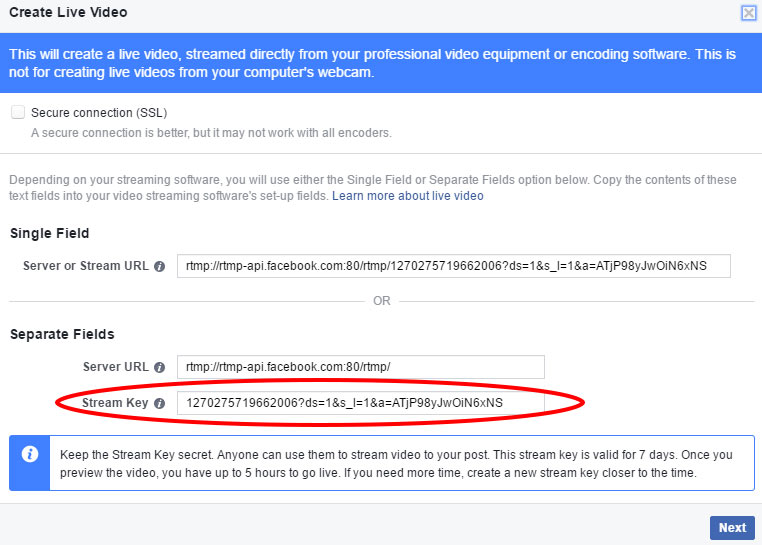
At this point, OBS Studio is now pushing your stream to Facebook, but you need to officially publish the stream via Facebook Live to make it viewable for your audience.
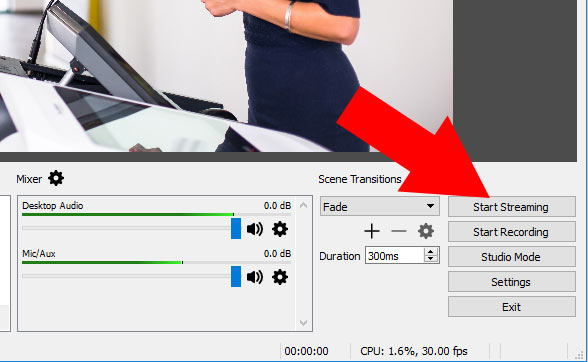
Once published, you can now return to the OBS Studio interface and switch between your scenes containing your AV.io grabber and other sources. The result is a dynamic and affordable multi-source live production with professional-quality capture from your HD camera(s)!
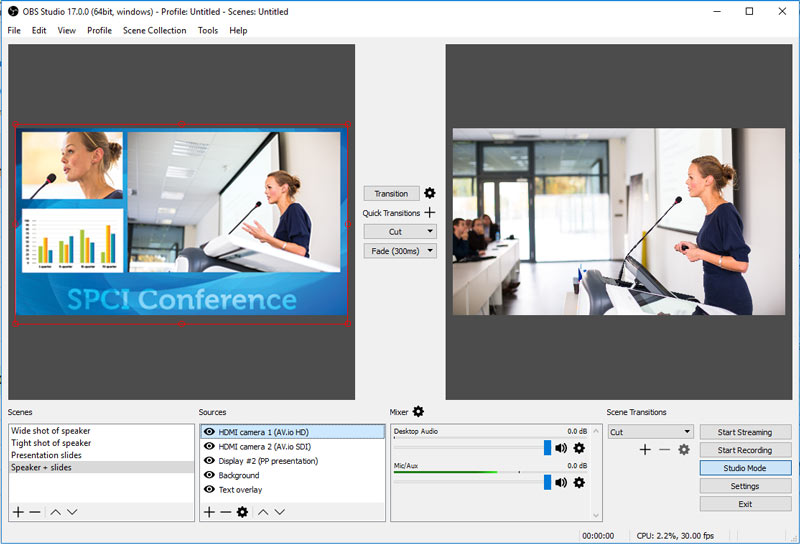
If you’d like to learn the multi-source streaming process in a more detailed, step-by-step format, take a look at our article How to live stream a multi-camera production to Facebook Live using OBS.
Note that streaming live productions can be taxing on your computer hardware. If your live event has evolved to the point where your capture computer’s processor is beginning to get overwhelmed or you simply no longer want or need to dedicate your computer to live production, then consider as an alternative our all-in-one live production switchers—Pearl or Pearl-2.
