Part of having a great live show is not worrying about a perfect performance. Lines are flubbed and mistakes are made, but laughing it off and carrying on is part of what makes live performances so appealing. But when you see the benefits of live streaming redundancy, you realize you don’t have to accept the same unpredictability from your equipment.
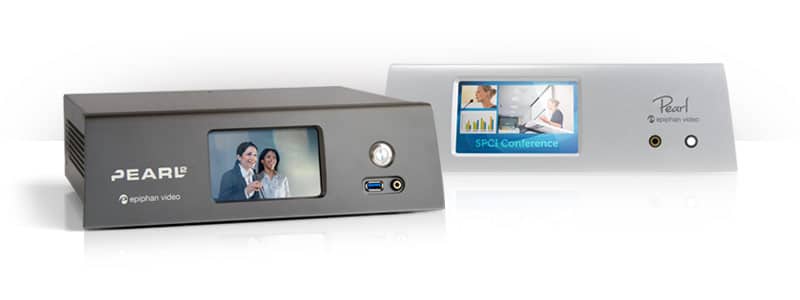
That’s why Pearl and Pearl-2 have setups that are custom-built for when you absolutely need to make sure you capture the moment. In this third installment of our Pearl Plays series of blog posts, you can follow the steps to create the ultimate no-fail setup, with all your sources prepared in advance for a dynamic live switched streaming program!
Rackmount Twin
The best way to make this live streaming redundancy play effective is with the Pearl Rackmount Twin or the Pearl-2 Rackmount Twin. It’s also possible to use two separate individual Pearl systems, but for space efficiency and density, the Rackmount Twin models can’t be beaten. With two independent Pearl systems right next to each other, you have your live stream and recording needs under control even in the face of human error. When you’re using this play on both systems, even an unplugged power source won’t ruin your day!
Make the play
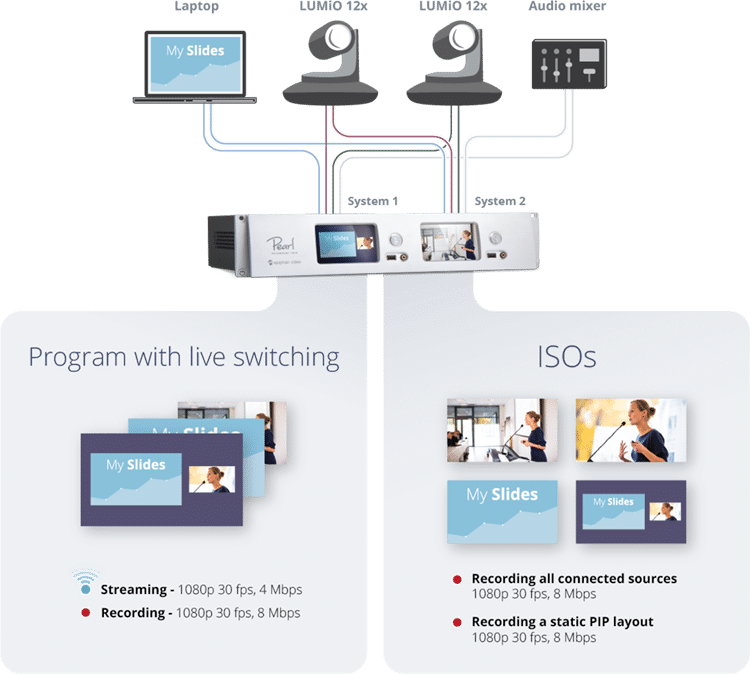
Use high-quality splitters with locking cables to split your signals (video and audio), so each independent Pearl or Pearl-2 system in the Rackmount Twin gets the full set of audio-visual inputs.
System 1: Live switching with streaming redundancy
- Connect your sources and create your live program channel. (Keep HDMI-B free.) Develop a set of engaging and creative PIP layouts containing your sources, images, and branding content.
- Create a second channel using the following steps:
- On Pearl, use a DisplayPort to HDMI cable to loop your program output (channel 1) back into HDMI-B. On Pearl-2, use an HDMI cable to loop the HDMI1 output port into HDMI-B.
- Create a channel with HDMI-B as its source and configure encoding at a lower bitrate.
- Configure streaming.
- During the event, use your system’s touch screen or Epiphan Live to control live switching and recording for channel 1 and to start and stop streaming the same program data (at lower bitrate) via channel 2.
This part of the play gives you streaming redundancy during the event itself. If you encounter Network connectivity problems, such as an unexpected drop in your bandwidth, you can simply switch to the other channel and start streaming with lower encoding settings!
System 2: Recording your ISOs with streaming redundancy
- Connect your sources and make a channel for each source. Remember to select your desired recording format (MP4, AVI, or MOV).
- Create a fourth channel featuring a static PiP layout containing your preferred video sources. Configure your streaming settings for backup purposes.
- When your event begins, start recording for each of the four channels.
- If there’s an error during the live switched stream, you’ll always have this backup PiP layout! Just start streaming it in place of channel 2 from the other Pearl system.
Using the second half of the play gives you full insurance on your recordings. You’ll have a extra copy of each of your sources recorded, and you’ve ensured that there’s yet another thing that you don’t have to worry about during your live performance!
Get even more with Pearl
In addition to providing full security of your streaming and recording, this setup has some hidden bonuses. You can show the performers how prepared you are by creating an automatic copy of your recorded program to a USB drive, so you can give the speakers a copy of their presentation immediately after they finish! Better yet, if you don’t need the backup layout on Pearl/Pearl-2, you can switch it out for a confidence monitoring channel that includes all your sources and display it on a big screen.
How do you keep your streams and recordings safe?
