
Dreaming of becoming the next Internet sensation? Determined to get started? Here are 6 essentials you need for your live streaming studio.
1. Space – your live streaming frontier!
Whether you’re live streaming to YouTube or Facebook Live, Twitch, Twitter, or even Vimeo Live – a good space to live stream from is as important as where you live stream to.
The first thing to consider for your live streaming studio is the right space. Hip, chic, or tech savvy – having your own live streaming studio space will help brand your content and communicate what your live stream is all about. Using the same space each time you go live also gives your live stream continuity. And continuity helps you define your place in the crowded Internet ecosphere.
We stream the Live @ Epiphan show from a dedicated studio space each week. If a dedicated space doesn’t work in your case, you could always choose a multi-use space right in your home. Transform a desk in a spare room in to a news anchor desk, or your living room in to an interview space. Even a kitchen counter can transform in to a live streaming studio set! Whatever space you choose, it will in many ways dictate some of the other gear you’ll need to live stream from there.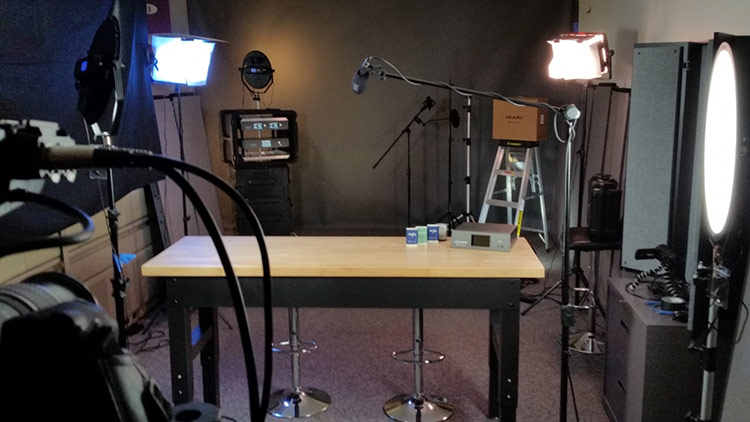
Simplify your live video production
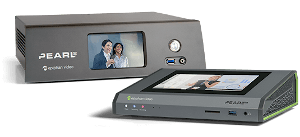
With inputs for multiple video sources and professional audio, a built-in touchscreen, and a host of pro features, a Pearl-2 or Pearl Mini all-in-one video production system makes the perfect nucleus for any live streaming studio.
Discover the power of Pearl2. Lights to brighten your star
Does your live streaming studio space have good natural light or is it a windowless basement? Lighting your subject well is important (and if you’re the host, you’ll want to look good!) Even if your live streaming studio space has a lot of natural daylight, you’ll still need to invest in some lighting gear.
In our studio, we don’t have any natural light. We use a combination of LED light sources, like the Falcon Eyes dimmable LED panels and some dimmable 900 LED panels from Cowboy Studio. We dial our lights to around 5600 K for a bright, daylight look. Lights with adjustable color temperatures help you color match your lights as you grow and add more to your live streaming studio.
You can always use more lights in your studio, but starting off with one good key light and some fill lighting will definitely yield immediate results for a better looking live stream. So lights are definitely essential to a live streaming studio. We produced a few shows that dig deeper in to adjustable color temperatures and lighting setups that were streamed from our previous live streaming studio.
3. Camera – your viewer’s eye
With so many camera choices, the one that’s right for your live streaming studio depends on your budget, how comfortable you are using cameras, and personal preference. Generally speaking, there are three basic options out there: a dedicated video camcorder, a DSLR (or other) camera that supports clean live HDMI video and audio output, or a webcam or smart phone.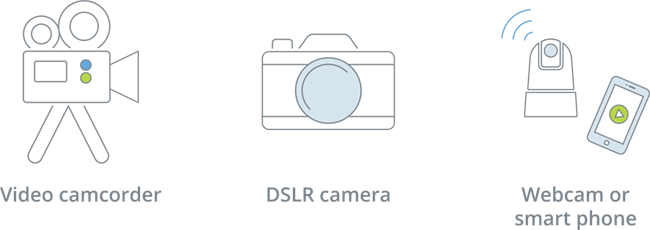 We use the Canon C100 Mark II professional, full-frame DSLR camera in our studio. The bonus is that we can run two XLR audio microphones directly in to the camera and avoid having to use an audio mixer. We also use a Sony A6300 when we’re streaming 4K, and sometimes we use a camcorder like the Canon G20 as a second camera source.
When looking for a camera, you’ll want something that can at least capture HD video at 1080p 30 fps. (Live streaming 4K is a whole other topic for another blog!) You can find camera options in the less pricy prosumer range, such as the Sony a7S II or the even more affordable Sony AX series cameras and get good results. There are lots of options depending on your need and budget.
DSLR cameras with full frame sensors are excellent in low light and can offer superior depth of field, making your live stream look great. But for a live streaming studio, you could probably go with a less expensive m43 camera option and still get a great looking live stream.
Whatever your choice (and budget), just make sure the live HDMI output from your camera is clean (i.e. you can turn off the onscreen displays) and that the HDMI output has audio on it. Also, be aware that not all cameras list their live HDMI output characteristics in their specs. Some manufacturers only list the HDMI playback characteristics and not live HDMI output.
Investing in a good camera for your live streaming studio is worth the expense, but if you’re planning to go the more economical route and use a USB webcam connected to your computer, I’d stick with one of the more well-known brands.
The Logitech C920 and C922 PRO Stream have proven worthy of the extra cost. However, most webcams on the market only capture video at 720p instead of full HD at 1080p (now, 720p isn’t terrible, plus it doesn’t require as much upload bandwidth.) But if you’re looking to future-proof your purchase and are willing to pay a bit more, the Logitech BRIO supports 4K. Also keep in mind that with webcams, your audio options may be more limited. Just remember, you get what you pay for. The camera’s lens is the viewer’s virtual eye in to your live streaming studio.
4. Great audio
Avoiding the built-in mic on your camera is an essential (ok, so maybe that’s a non-essential?) What I mean is, just don’t use it! Choose an external mic instead. You’ll be much happier with the sound quality.
We wanted to avoid a bulky desktop microphone in front of our hosts when they’re live streaming, so we opted to use a boom mic stand and the Rode NTG4: a broadcast quality, directional condenser microphone.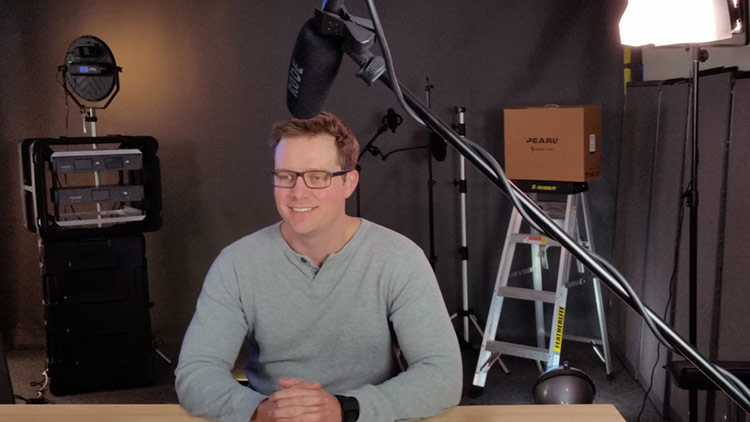 And when someone is moving around a lot or if noise is a problem, we close mic using the Sennheiser ew 112-p G3.
Because there are XLR mic inputs right on the Canon C100 Mark II, we can run our mics directly in to the camera and control the volume from there. The camera mixes the audio and video together, then sends the combined signal out the HDMI output port. Simple! No extra audio mixer required in that case. We can just send that HDMI signal to our live streaming encoder.
For cameras without XLR audio inputs, you can use a quality on-camera mic like the Sennheiser mke 400. But if you’re not going to use your camera to mix the audio and video together, a bit more gear is essential for your live streaming studio.
You could use an audio inserter, like the Monoprice Blackbird 4K Series, to combine the audio from your mic with the video from your camera. But depending on your microphone, you may need to boost the audio a little first.
If you’re using a dynamic microphone, you’ll definitely need to boost the audio signal before it goes in to the audio inserter. But even if you’re using a condenser microphone that has built-in phantom power, you’ll probably still want some control over the tone and volume. That’s a reason why we have an Allan and Heath ZED-14 sound board in our live streaming studio. The sound board is needed to mix audio when you have a few different audio sources, like a music track that’s playing on a laptop or iPad along with some microphones. We use our sound board to mix all the audio for the show, and then send that to the audio inserter, which combines the audio with the HDMI video from our camera into a single HDMI output. So for us, a small mixer is an essential item to have in our live streaming studio.
Of course, there’s always the option to have a desktop USB microphone connected directly to your streaming computer (if that’s how you’re live streaming). We don’t use USB mics, but the Blue Yeti comes highly reviewed and is a popular choice among vloggers who stream that way.
5. Encoder
To get your content on to the web, you need an encoder that will also stream your content. There are two basic options for that: using a software encoder and computer combo, or using a hardware encoder.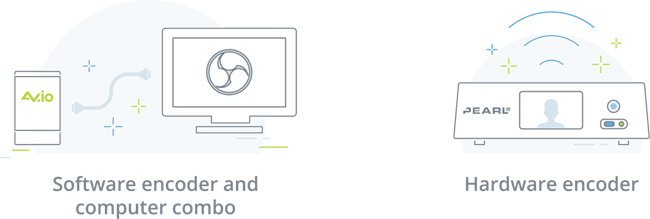 Streaming software OBS is a popular choice for live streaming that’s open platform and free to download. However, the computer running OBS needs enough computing power to handle processing the live video stream. You’ll also need a fast video card. I wouldn’t use less than a 6th or 7th generation quad core i7 computer for most typical live streaming setups. Otherwise, your stream could experience dropped frames and choppy audio – or worse! The live stream can stop altogether, and that would be disastrous.
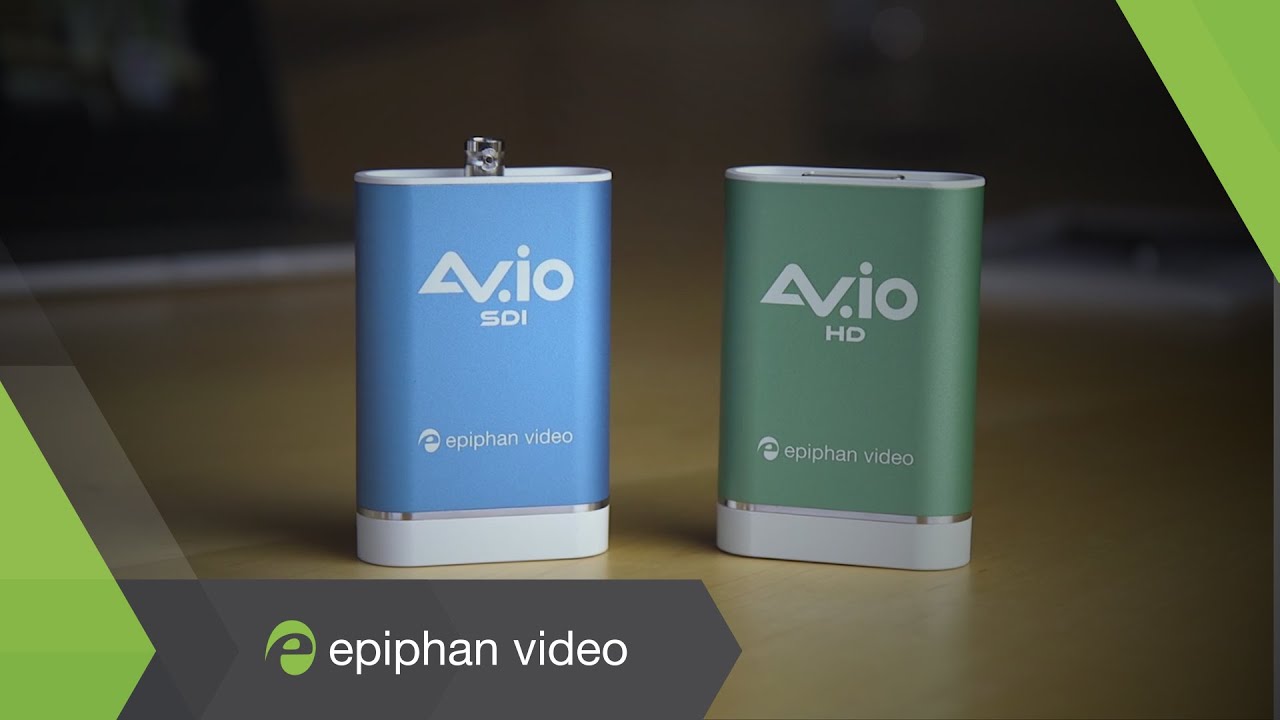
Bigger computing power is definitely better when it comes to live streaming using software encoders. So don’t skimp on your computer or else you’re in for all sorts of headaches. Epiphan Video offers the AV.io family of external capture cards, which are designed to be tough and easy to use. They’re perfect to get the output from your pro camera in to your software encoder.
We prefer to use a dedicated hardware encoder for our live streaming studio. They’re more robust, which is important if you’re building an audience on your social media platform and want to stream reliably.
Plus we multi-stream live to YouTube, Facebook Live, and even Vimeo Live all at the same time! To do that, we use Pearl-2. It’s an all-in-one live streaming, recording, and switching solution. Pearl-2 has six HD inputs and is super easy to setup with touchscreen controls and the Epiphan Live web interface. Pearl’s loaded with features so we can get creative with custom picture in picture layouts, chroma keyed backgrounds, and other “nice to haves” that make Pearl-2 essential in our live streaming studio.
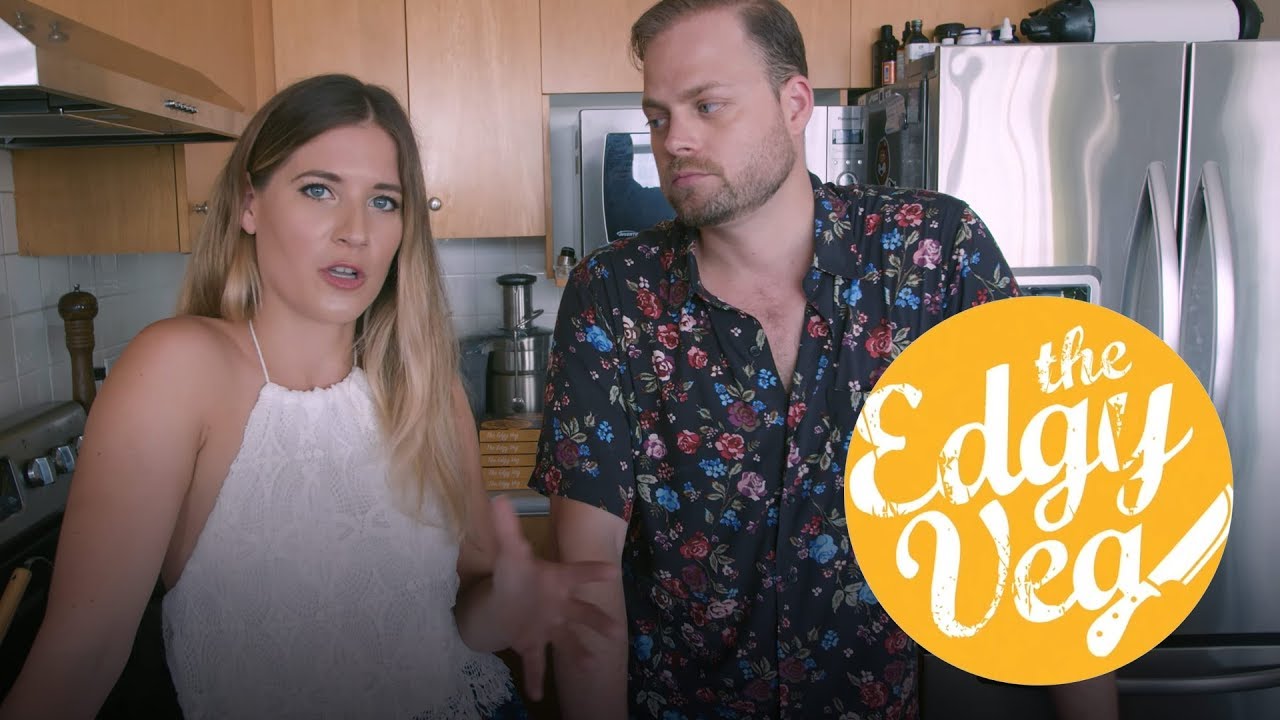
Another option is to go lean with your hardware encoder and stream to one social media platform at a time. We use the Webcaster X2 when we want to set up a quick stream to either Facebook or YouTube. It’s a great little hardware encoder that’s super easy to use. Just set it up once, then just click the button to go live. The Webcaster X2 may not be an essential encoder in our studio setup, but it’s a great piece of gear to easily stream your dream Internet show, like the people at Edgy Veg.
6. Bandwidth
Finally, you need lots of upload bandwidth for your live streaming studio. Here’s a link to a great article with all the details about that.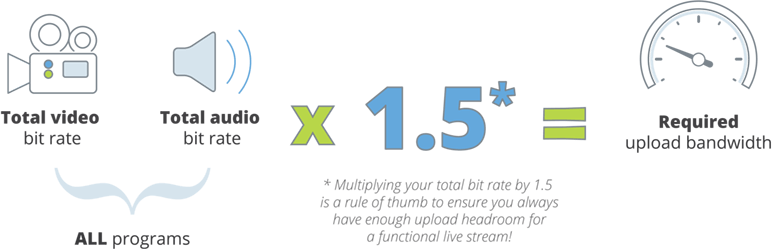
The final word
Other than some bits and bobs (like cables, power bars, stands, and a set of headphones), I hope this list of 6 live streaming studio essentials helps you sort through the quagmire of gear so you can start your Internet career as the next big thing on the web! If you’re interested in learning more about live streaming, you can watch past episodes of the Live@Epiphan show, or catch us live each Thursday at 3PM EDT. Happy streaming!
Great article! That counter-height workstation looks amazing–any way you would share the model with us? Thanks!!