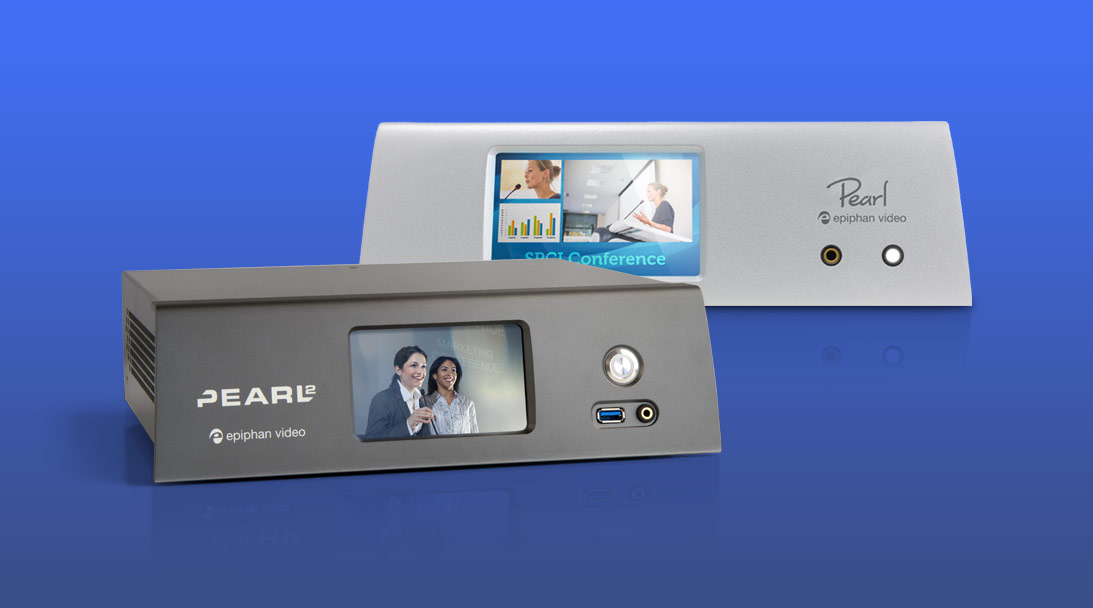
Running a live event can be daunting. Sure, setting up simple live streaming and recording using Pearl (or Pearl-2) is easy. The two, built-in auto channels makes setup a breeze. But today’s audiences want quality programming. So let’s turn a simple production into a dynamic live event including live switching between multiple video sources and fully-customized layouts.
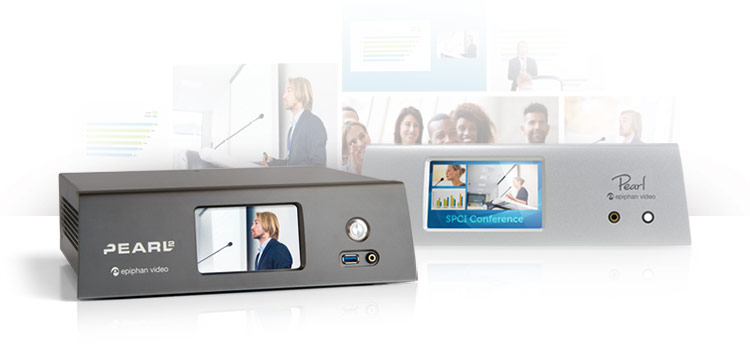 This second instalment in the Pearl Play series is about taking your live event to the next level. Turn it in to a dynamic live event using Pearl (or Pearl-2) as your all-in-one live streaming, recording, and switching solution. One-touch control of recording and streaming can be done from the touch screen on Pearl, a laptop using the admin panel, or using Epiphan Live. Pearl actually has a number of different recording options, like saving your recordings to the solid state hard-drive on Pearl or to a network server. There are even options to set up automatic file transfers to a local USB drive or networked storage, if that fits your workflow. Great for back ups! Plus you can record each of your isolated (ISO) video channels separately at the same time you record your streaming channel.
Program with live switching
What will make your event a more engaging, dynamic live event for viewers without complicating your setup or hiring a crew?
It’s possible to deliver a visually dynamic live production when you use custom layouts with Pearl, even if you have only two video sources. For example, two static cameras set up at opposite ends of a sports arena, or maybe you have just one camera to capture a keynote speaker projecting their presentation slides from a laptop.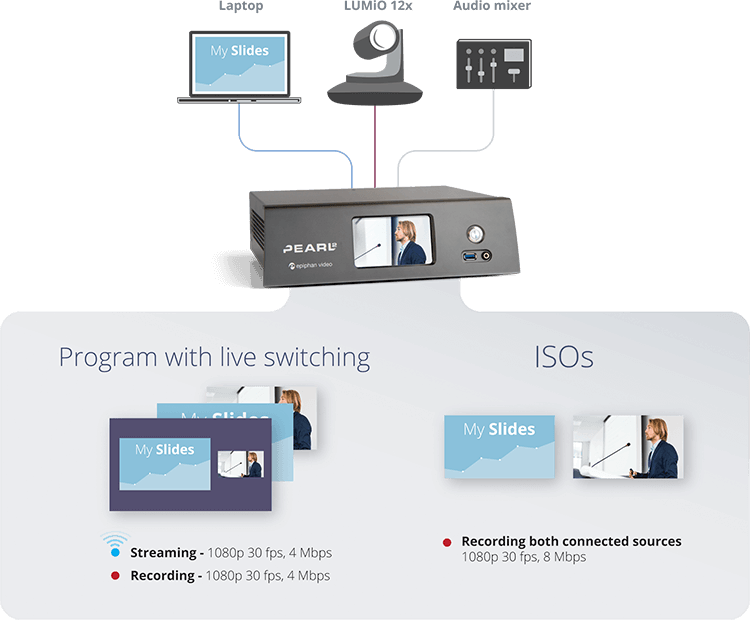 Custom layouts add that spice of variety so your viewers stay glued to your production. Using the built-in scaler and video mixer in Pearl, you can easily create interesting layouts with customized picture in picture and graphics.
 For example, show both the presenter and their slides side-by-side in a custom layout with a background image.Adding branding and images to promote your venue or web address takes only a few clicks using the simple video mixer.
Putting the play in to practice
Here’s the lineup:
- One Lumio 12X camera captures a presenter standing at a podium next to a large screen where their slide presentation is projected.
- A slide presentation from the presenter’s laptop is sent directly to an input on Pearl-2.
- The laptop’s signal is sent out the HDMI 1 output port on Pearl-2 to the projector in the room. (For Pearl, the laptop signal is sent from OutputDisplay 1).
- An audio feed coming from a mixing console.
From one medium shot of the presenter, use the built-in scaler and video mixer in Pearl to create custom views. Add interesting picture in picture layouts to a channel that you create specifically to stream your dynamic live event.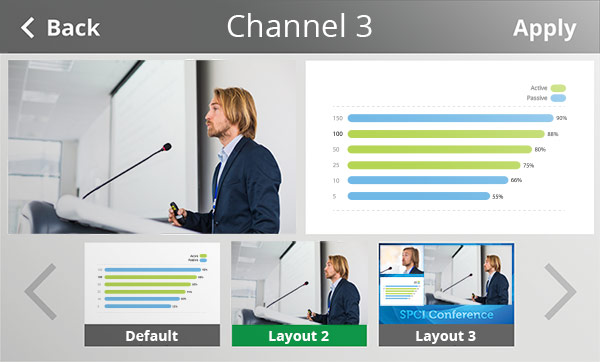 Live switching between your video sources and the custom layouts is done from the touchscreen on Pearl. Or, do live switching from a laptop connected to the same network as Pearl using either the admin panel or Epiphan Live.
When you’re live switching a channel that has custom layouts, it’s recommend that you use a fixed frame size instead of the default automatic detection of the source frame size setting. That way, you won’t experience stream interruptions if the source frame size changes due to layouts that contain a single source that has a different frame size than those in the other layouts.
Make the play
Set up a dynamic live streaming event using Pearl and two video sources in only a few simple steps. Here’s how:
- Connect your video sources and audio:
- Connect the presenter’s laptop to a port in row A at the back of Pearl (or the HDMI-A port on Pearl-2).
- Connect a LUMiO 12x camera into the HDMI port in row B.
- Connect the audio from your mixer to either TRS input in row B on Pearl (or XLR on Pearl-2).
- Use default channels Auto A and Auto B for your program ISO video, each with simple full-screen, single-source layout. Select the audio source for channel Auto B.
- Using the admin panel, add channel 3 for your live switching program. Include custom layouts and an audio source. Then set up live streaming.
- Under Sources, add Auto A as a new video source in the default layout and resize the image to fill the entire frame for a full-screen view of the slide presentation.
- Add a new layout and add Auto B as the video source. Again, resize the image to fill the entire frame for a full-screen view of the podium.
- Add another new layout and include both video sources, arranging them attractively side-by-side. Now add a picture, size it to fill the frame and move it to the background. Add some text and a logo if you have one.
- Select the audio source.
- Set up channel 3 for streaming to YouTube or the CDN of your choice.
- Connect the 4K HDMI 2 output port on Pearl-2 to the output port to the room projector. For Pearl, connect DisplayPort 1 to the projector. By default, display output port 1 shows the Auto A channel and display output port 2 shows the Auto B channel.
- When you’re ready to start the event:
- Use the touchscreen on Pearl or Epiphan Live and start recording on all three channels.
- Start streaming channel 3 using the touch screen or Epiphan Live.
You’re live! Now keep your presentation interesting. Switch your custom layouts on channel 3 using either the touch screen or Epiphan Live for a truly dynamic live event.
Get even more from Pearl!
- Don’t need ISOs? Create your dynamic program from up to 4 HD video sources instead of two!
- Upgrade to Pearl Rackmount Twin to do even more.
