
Webcaster X1 for Facebook Live user guide
Show comments and reactions
As viewers watch your live broadcast, you can interact with them by reading and responding to comments or questions they post in the chat. Engaging with your audience by having a real-time discussion (where they ask or answer a question while you, or a friend reads it out loud on air) can really make your live show stand out!
When using Webcaster X1 for Facebook Live with an attached HDMI display, you can see viewer comments (and reactions) while you broadcast. By default this feature is off, but it's easy to turn on!
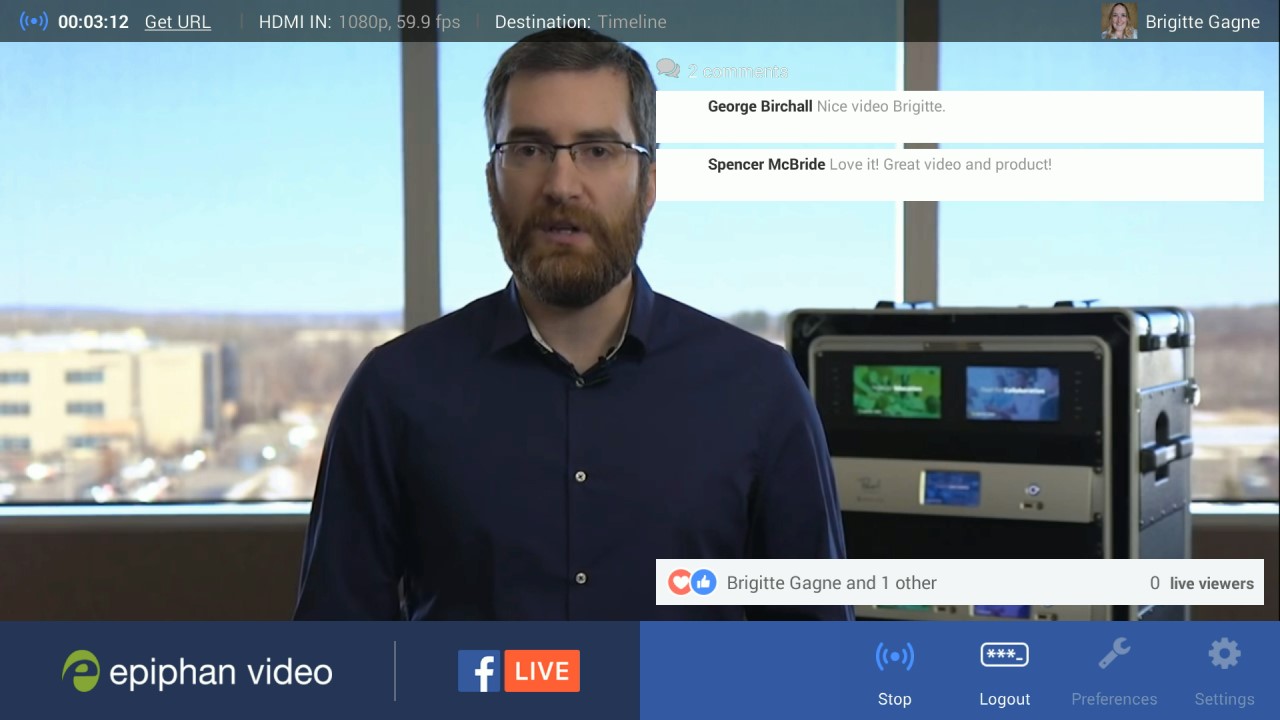
- You can use Webcaster X1 to monitor comments and reactions on Facebook on your attached HDMI display.
- At the top of the screen, viewers comments are displayed.
- At the bottom of the screen, the number of viewers and the top three reactions are listed along with the name of the user who last reacted.
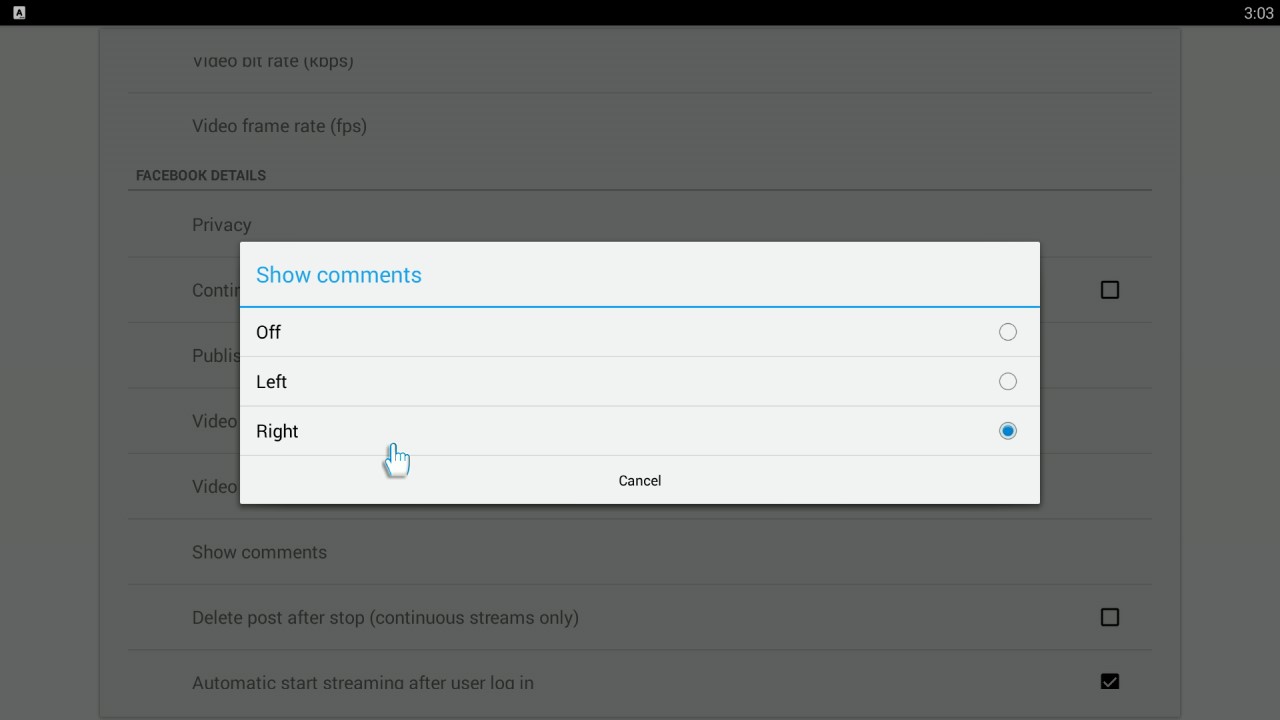
- You can choose whether to have these shown on the left or right side of the screen.
To change the default login behavior after you need:
- Your Webcaster X1 for Facebook Live
- An HDMI display (that supports 1080p video) connected to your Webcaster X1
- A USB mouse connected to your Webcaster X1 (must be connected before boot-up)
Show me!
- If not already on the Preferences page, click the Preferences icon
 at the lower right corner of the screen; the preferences screen opens.
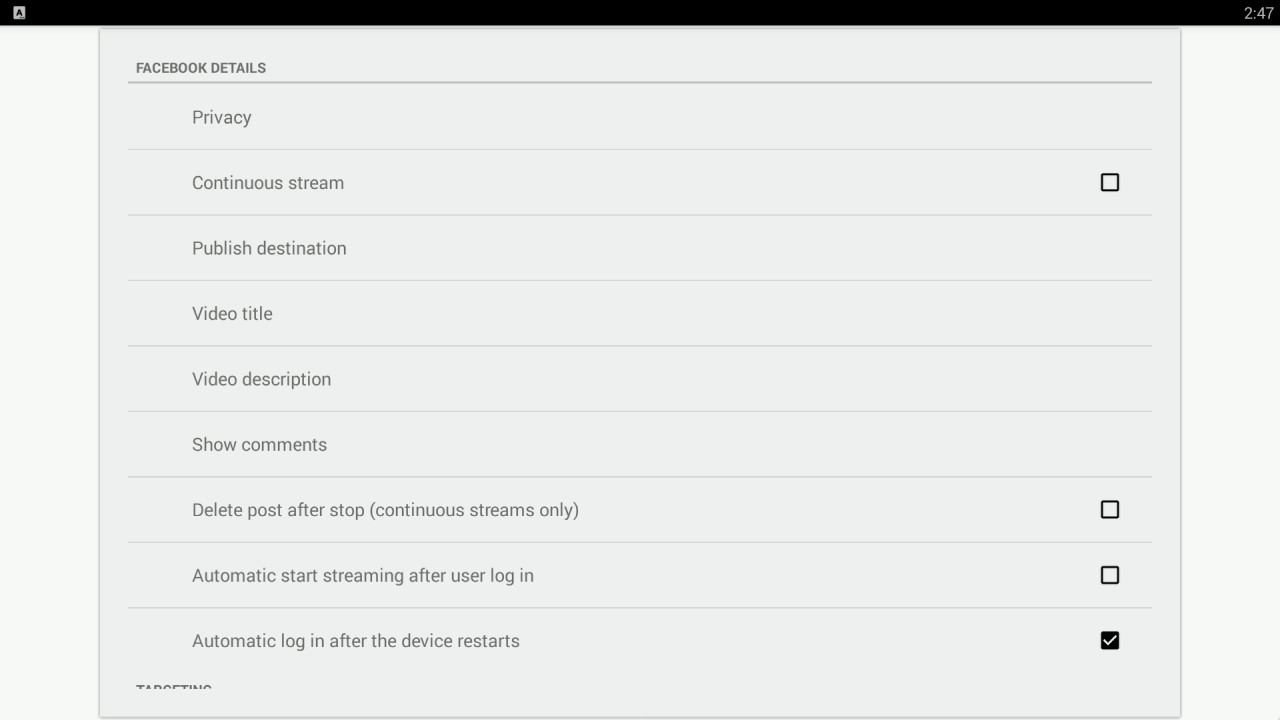
- Click Show comments in the Facebook Details section.
- Select the location for the comments.
- When your broadcast starts, you will see a live viewer count, reactions and comments on the chosen side of the screen.
- If you are done with Facebook settings for your broadcast, right click to exit the Preferences menu.
During your broadcast, click the left mouse button to show or hide the Webcaster X1 overlay (including comments, if you have your device configured to show them).
Your USB mouse or keyboard must be connected to Webcaster X1 for Facebook Live before boot-up.