Pair and unpair Facebook
Webcaster X2 uses the Facebook API to get a device pairing code that you simply need to let Facebook know about. Then your Webcaster X2 is authorized to stream to your Facebook account. It couldn't be easier!
Webcaster X2 must be connected to the Internet to retrieve a device pairing code from Facebook and then pair with Facebook. If later on you want to unpair your device, you don't need to be connected to the Internet. If you're live streaming when you unpair, the live stream stops.
What you need:
- Your Webcaster X2
- (Optional) An HDMI display that supports 1080p video connected to your Webcaster X2
- (Optional) A USB mouse connected to your Webcaster X2
- A computer, tablet or mobile device
Show me!
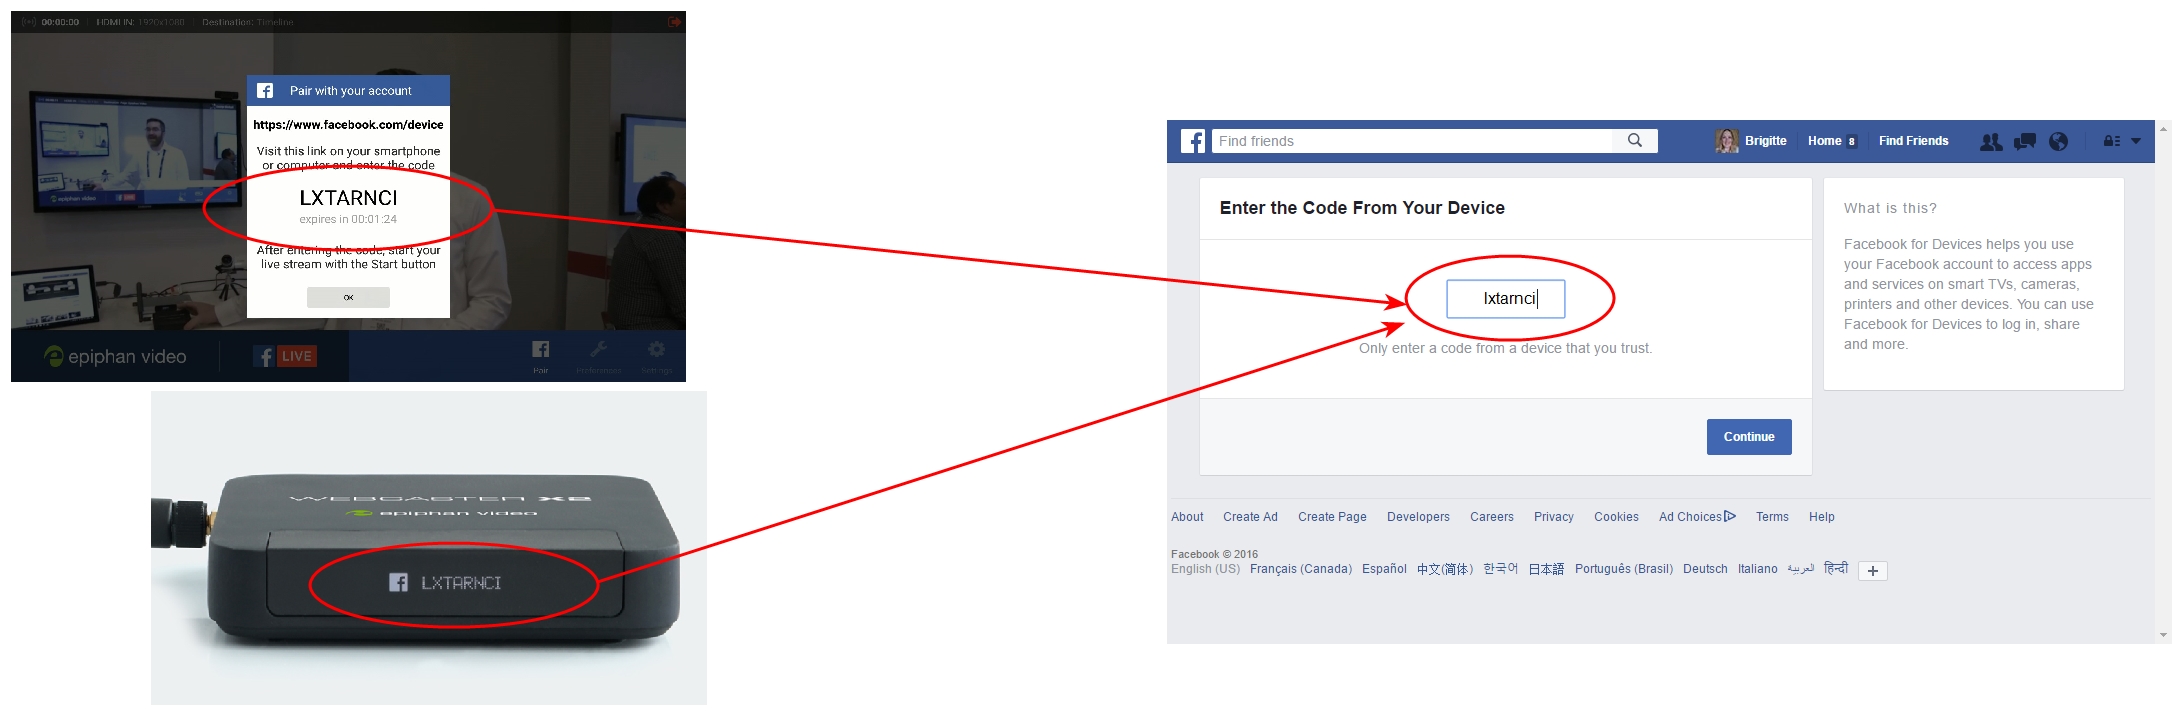
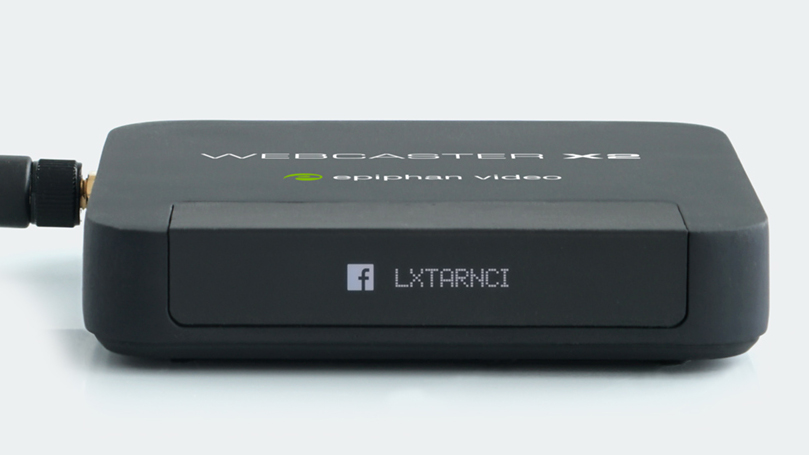
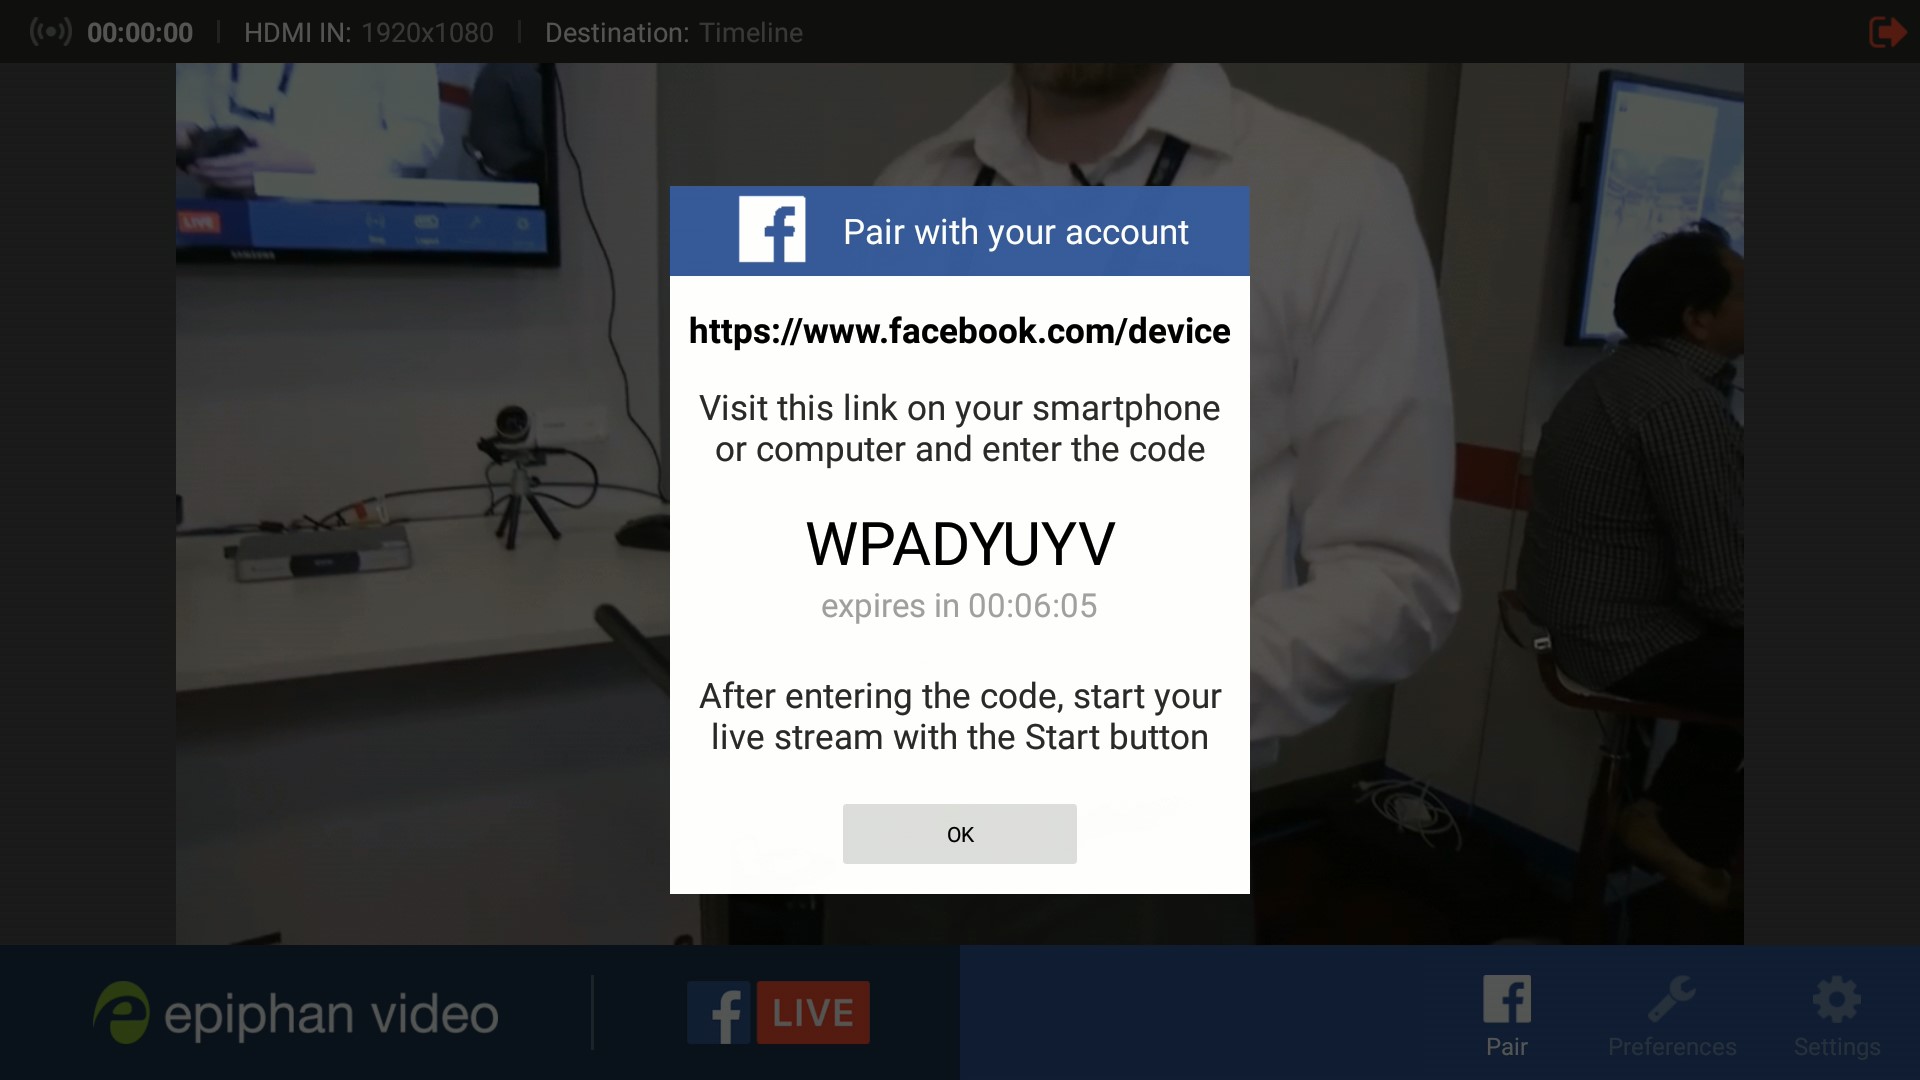
- Look at the front screen display for the Facebook device pairing code or click the Facebook Pair
 icon if you're using an attached HDMI display.
 - Using a web browser on your computer or mobile device, go to facebook.com/device and login to your Facebook account.
- On the Facebook device pairing page, enter the pairing code from your Webcaster X2 in the device code field, then click Continue.
-
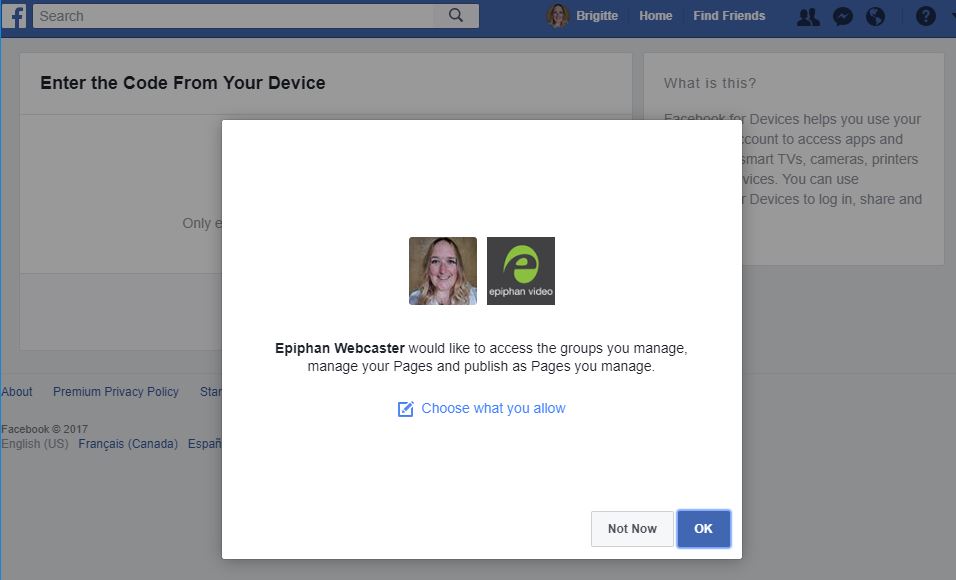
On the next Facebook pop-up, choose a maximum setting for post visibility from Webcaster X2, then click OK. We recommend choosing Public.

-
On the next pop up, click OK again to authorize Webcaster X2 to post to your Facebook Pages and Groups.
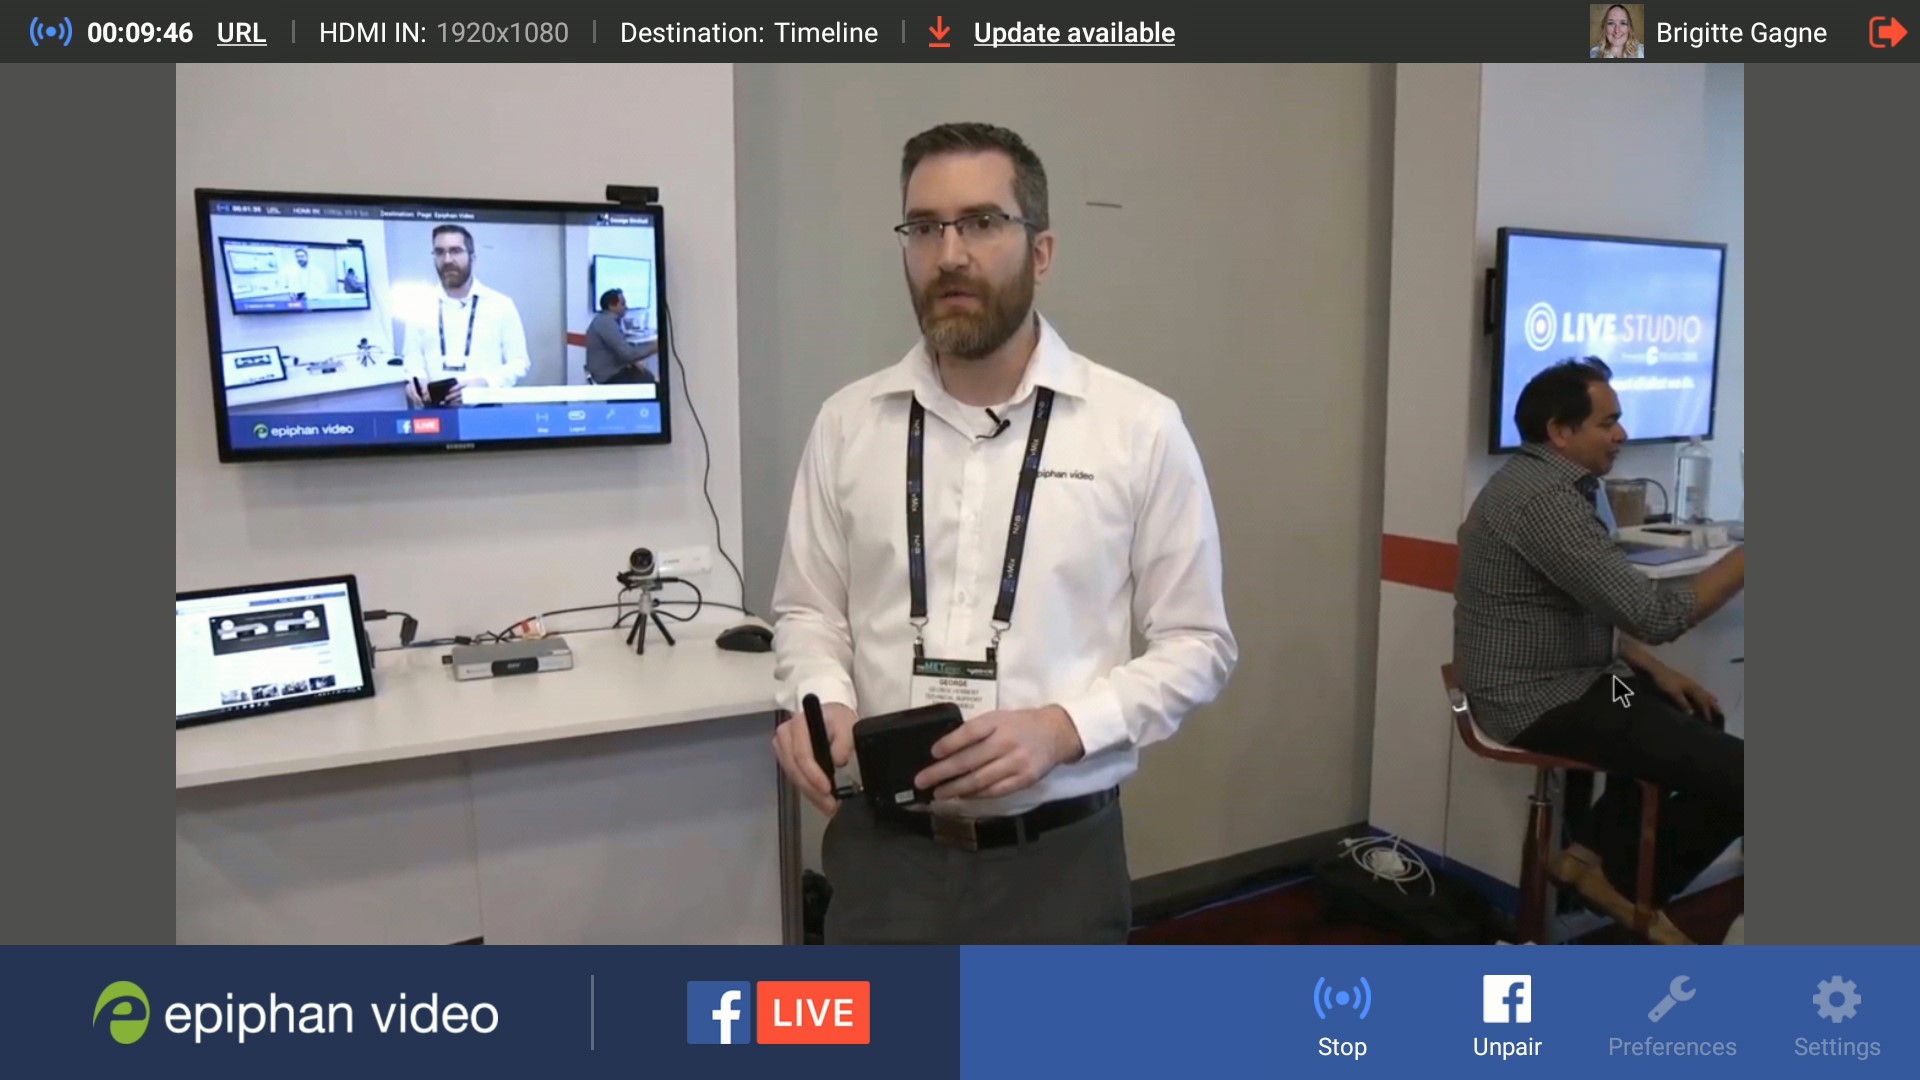
- The front screen on Webcaster X2 updates to indicate that it's paired with your Facebook account.
- To unpair the encoder, click the Facebook Unpair icon at the bottom of the screen using the mouse and click Yes.
| Front screen | HDMI Display |
|---|---|
|
|