Create a channel
Create channels on Pearl-2 using the Admin panel. New channels automatically use the same aspect ratio as the default frame size setting for the channel, which is 16:9. You can change the encoding settings for a channel after the channel is created.
The default encoding settings for a channel are:
- Video: H.264, 1920x1080@30 fps, auto bitrate
- Audio: AAC, 48kHz stereo, 320 kbps
If the channel's video source doesn't have a 16:9 aspect ratio, the system automatically detects the correct aspect ratio and updates the layout after you leave and return to the custom layout editor page. This happens because the channel's encoding page has Use current signal resolution as frame size selected by default. If you want to change the aspect ratio for your channel, see Configure encoding.
Each additional channel and layout consumes additional CPU processing capacity of Pearl-2, see Optimum System Load.
When you create a channel, it's convenient to add your video and audio sources at that time. Channels can have one or more video and audio sources. This procedure includes basic steps to add a single video and audio source.
Create a channel using the Admin panel
- Log in to the Admin panel as admin, see Connect to the Admin panel.
- From the Channels menu, click Add channel. The custom layout editor for the new channel opens and the default layout is selected. A 16:9 workspace appears in the layout area.
- Click Add new item and select Video Source.
- From the Source settings, select a video source in the Source drop down.
For best results, Keep aspect ratio when scaling should be checked under Source settings.
The selected video source appears in the layout area.
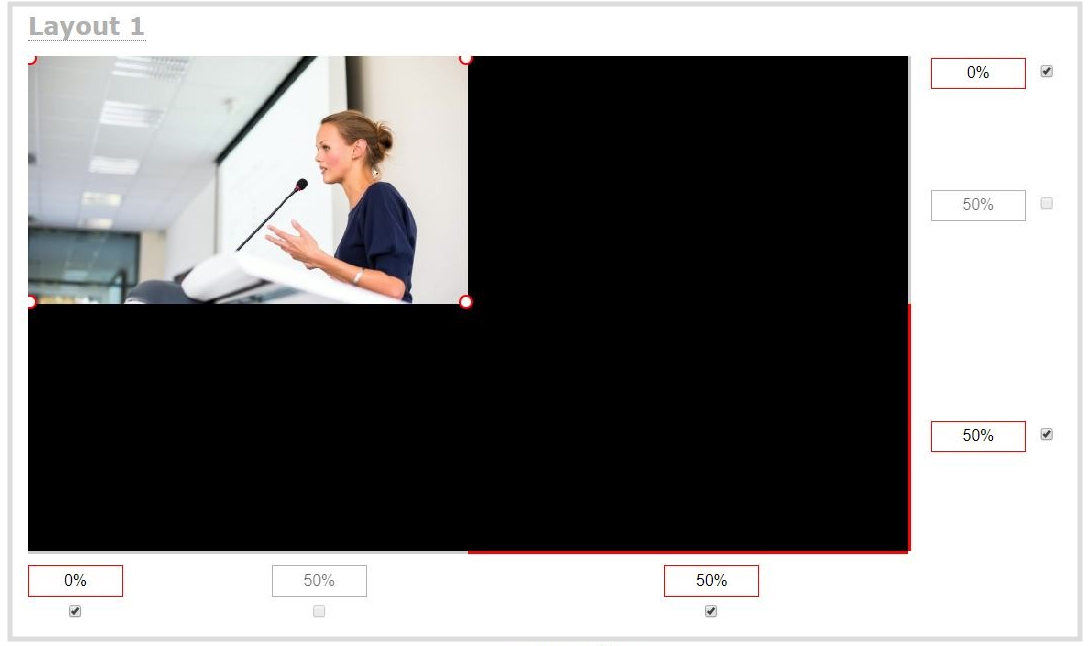
- Click and drag the red and white handles on the corners of the source to re-size it in the layout editor area. For a single source channel, it should fill the entire layout area. Alternatively, you could enter a percentage or pixel value in the boxes that are along the side and bottom of the layout editor area to resize the selected source.
- Select an audio source from the list of audio sources.
If a channel is selected as a video source, the corresponding audio for that channel is selected by default.
- Click Save. Your channel is ready for basic streaming and recording.
Because this is a single-source channel with only one layout, the channel's name is updated to display the source’s name next time you view the channel. Click the channel name in the Channels menu to refresh. Rename the channel and choose a custom name if you don't want the channel name to change, see Rename a channel.
What's next?
The default channel encoding setting should work fine in most cases. To check the encoding settings for the channel, seeConfigure encoding. There are a lot of creative things you can do next with your channel, including creating more layouts, adding multiple video and audio sources, and customizing layouts to add images and backgrounds, see Custom layout configuration.
