Configure a custom layout for a channel
If you want to do live switching on your channel for a more dynamic video presentation, then you need to add different layouts that you can switch between. We recommend that you rename your channel and layouts to something more intuitive rather than using the default names, see Rename a channel and Rename a layout.
Creating layouts gives you full control over what's presented to your viewers. You can do things like change the size and position of images, add custom backgrounds, up scale and downscale your video sources, add multiple audio sources and text overlays to mention just a few. For examples of how to get different channel layouts, see Channel layout examples.
Important considerations:
For live switching a channel, we recommend that you set the frame size to a fixed size instead of using the default automatic detection of source frame size. Setting the frame size to a fixed value ensures you don't experience any stream interruptions if the source frame size changes due to layouts that contain a single video source that has a different frame size than those in other layouts, see Configure video encoding.
Configure a custom layout for a channel using the Admin panel
- Login to the Admin panel as admin, see Connect to the Admin panel.
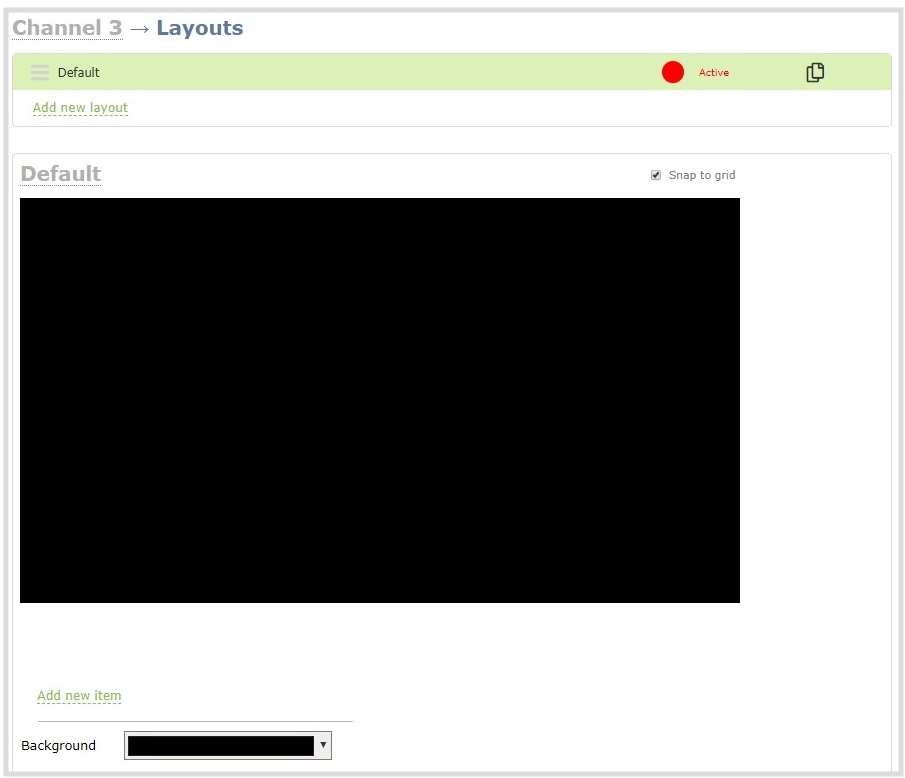
- From the Channels menu, select the channel and click Layouts. The custom layout editor opens.
-
- Pearl-2, Pearl Mini, and Pearl Nexus - Select a layout from the layout list or click Add Layout to create a new layout. If this is a new channel or layout, the layout area is empty and you see a black background matte, see Add video sources or a channel as a source.
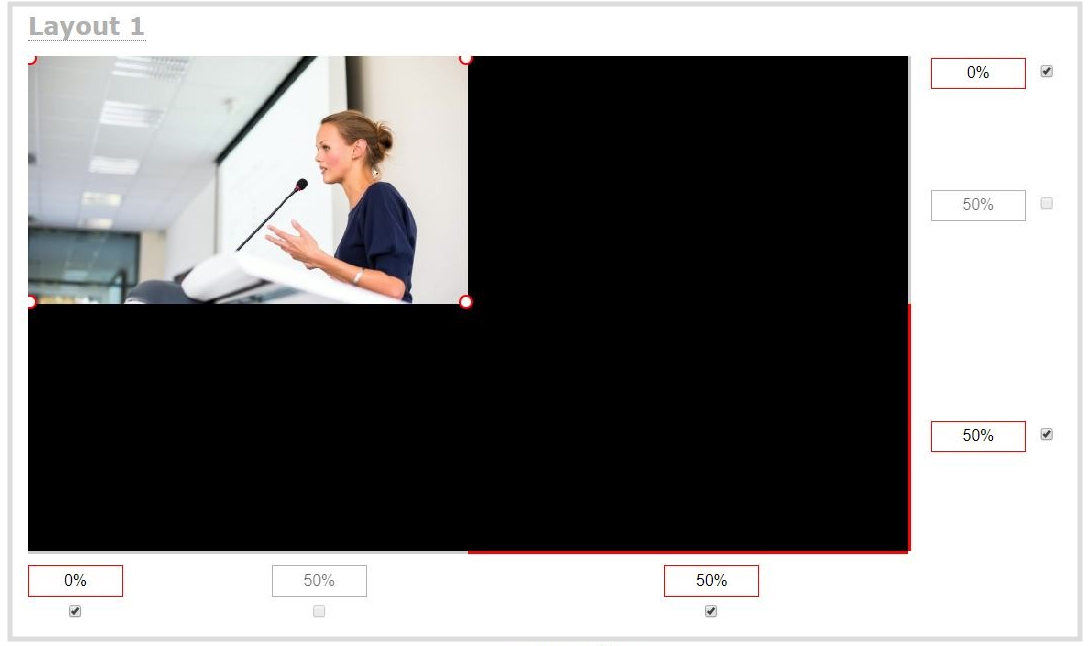
- Click and drag the red and white handles on the corners of the video source to re-size it in the layout editor area.
- Click Save when you're done or continue to add additional video sources to the layout, resize and crop each video source to exactly how you want them to appear. For examples, see Channel layout examples.