Quick start
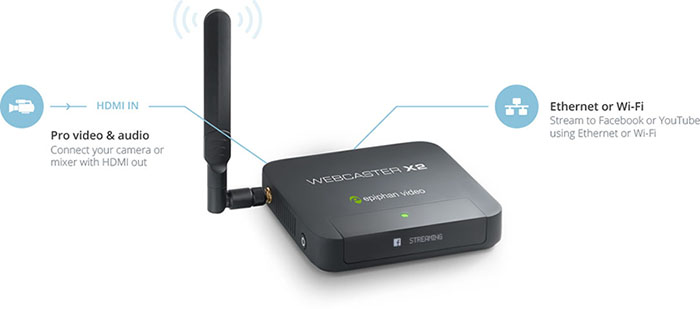
Webcaster X2 makes it easy to go live on YouTube, Facebook, Twitch, or any other of the supported third party streaming platforms. Simply connect any 720p or 1080p HDMI camera or other HDMI source and start streaming live to your streaming platform of choice.
To stream live to your YouTube or Facebook timeline, or to your Twitch channel page, you need:
- An account on your streaming platform of choice. For streaming to YouTube, ensure your YouTube channel is verified and has no live stream restrictions
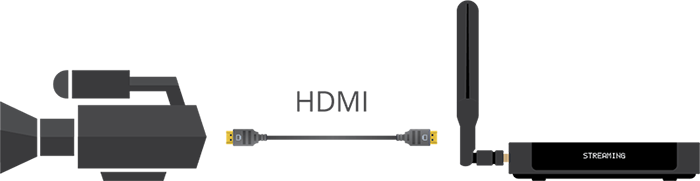
- Your HDMI camera to stream
- Your Webcaster X2
-
An Internet connection with a minimum of 6 Mb/s uplink for 1080p, or 3 Mb/s for 720p
The steps in this quick start assume you're streaming to YouTube or Facebook. To stream to Twitch, see Stream to your Twitch channel page. To stream to any of the other third party streaming platforms, see Stream to other third party apps.
- Connect your HDMI camera to the HDMI IN port of your Webcaster X2.
- Connect a network Ethernet cable to the Ethernet port on the back of Webcaster X2. Ensure the network can reach the Internet and access your streaming platform of choice.

- Connect the supplied power cable to the back of Webcaster X2 to turn on the device.
- Double-click the multi-function power button to choose between YouTube, Facebook Live, Twitch and the other third party streaming platforms. The streaming platform's logo appears on the Webcaster X2 screen.
Facebook Live example 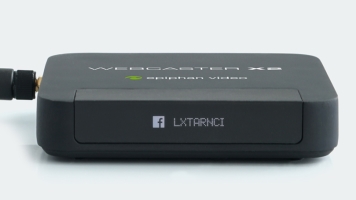
- Pair Webcaster X2 to your streaming platform account:
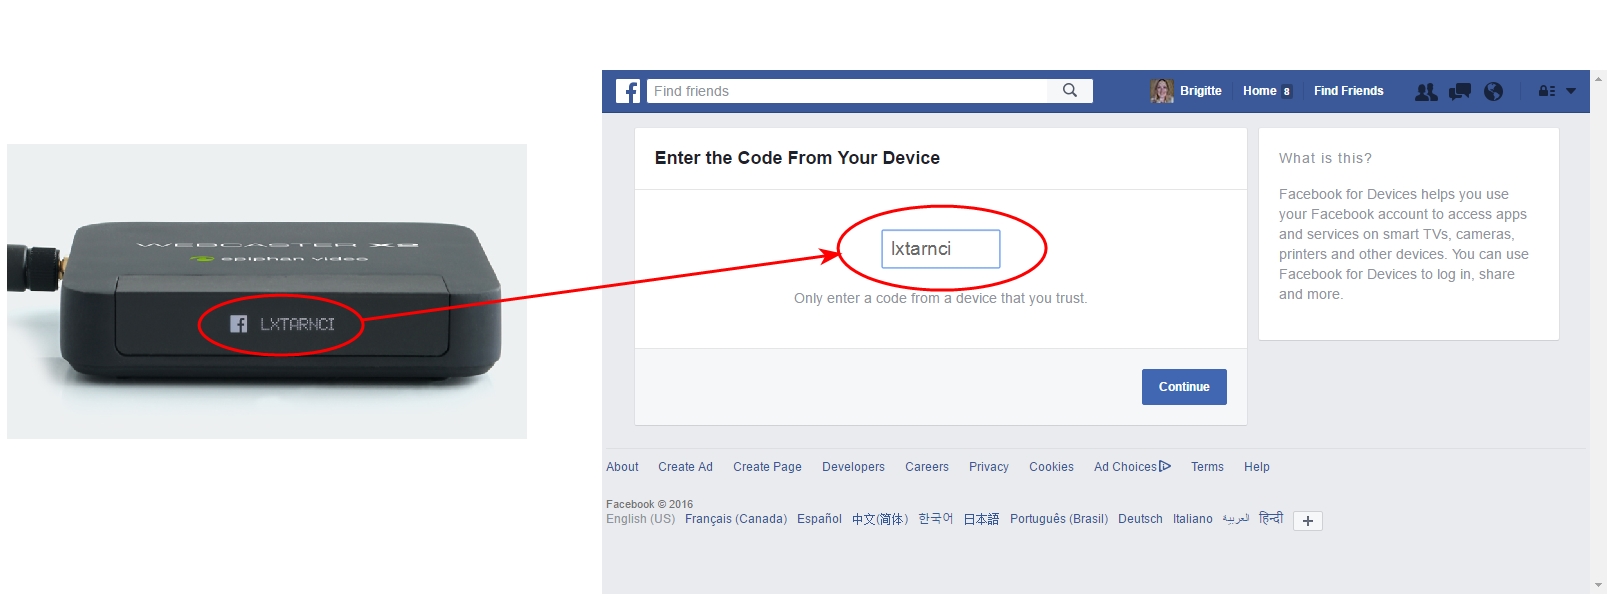
- Using a web browser, go to facebook.com/device and log in using your Facebook account.
- On the Facebook device pairing page, enter the pairing code that appears on the front screen of Webcaster X2, then select Continue.
- In the pop-up window, select Public or choose Private if you want maximum privacy for your stream, then select OK.
- Select OK again to authorize posting to Pages and Groups. This completes pairing Webcaster X2 with your Facebook account. The front screen on Webcaster X2 updates to show that it's now paired.
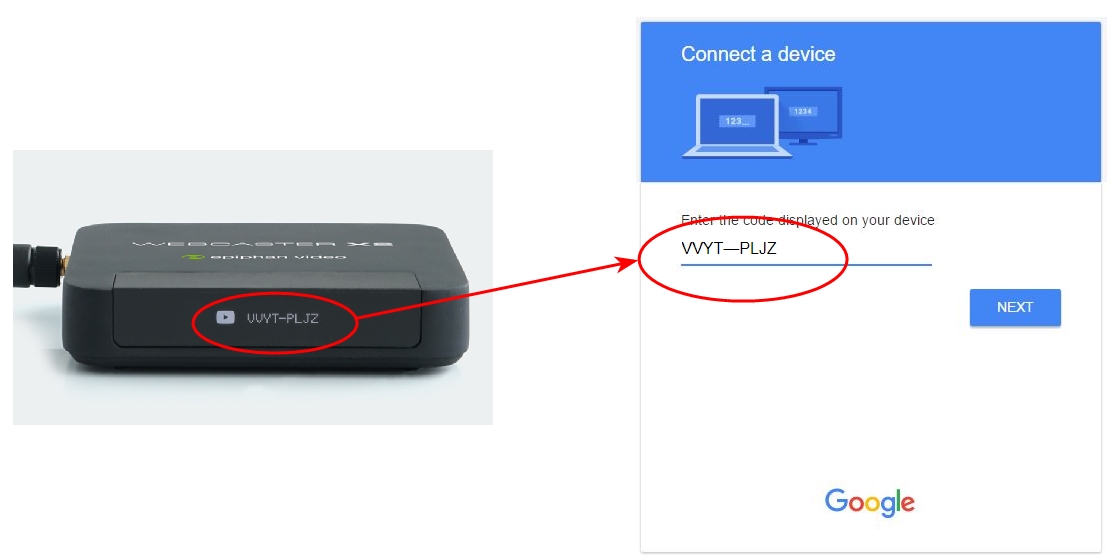
- Using a web browser, go to google.com/device and sign in to your Google account.
- If you manage more than one YouTube channel, pick the channel you want to stream to.
- On the Connect a device page, enter the pairing code that appears on the front screen of Webcaster X2, then select Next.
- Click Allow when prompted to complete pairing Webcaster X2 to your YouTube channel. The front screen on Webcaster X2 updates to show that it's now paired.
- Using a web browser, go to www.twitch.tv and sign in to your Twitch account.
- From the Dashboard of your Twitch channel page, go to Settings and click Stream Key > Show Key. You'll need to agree to view the stream key.
- Open a new tab in your web browser and enter the IP address that appears on the front screen of Webcaster X2 to go to the Pairing page for the encoder. For example, enter the URL http://10.1.1.10
- Now copy your Twitch stream key and paste it into the stream key field on the Webcaster X2 Pairing page, then click Submit. The front screen on Webcaster X2 updates to show that it's now paired.
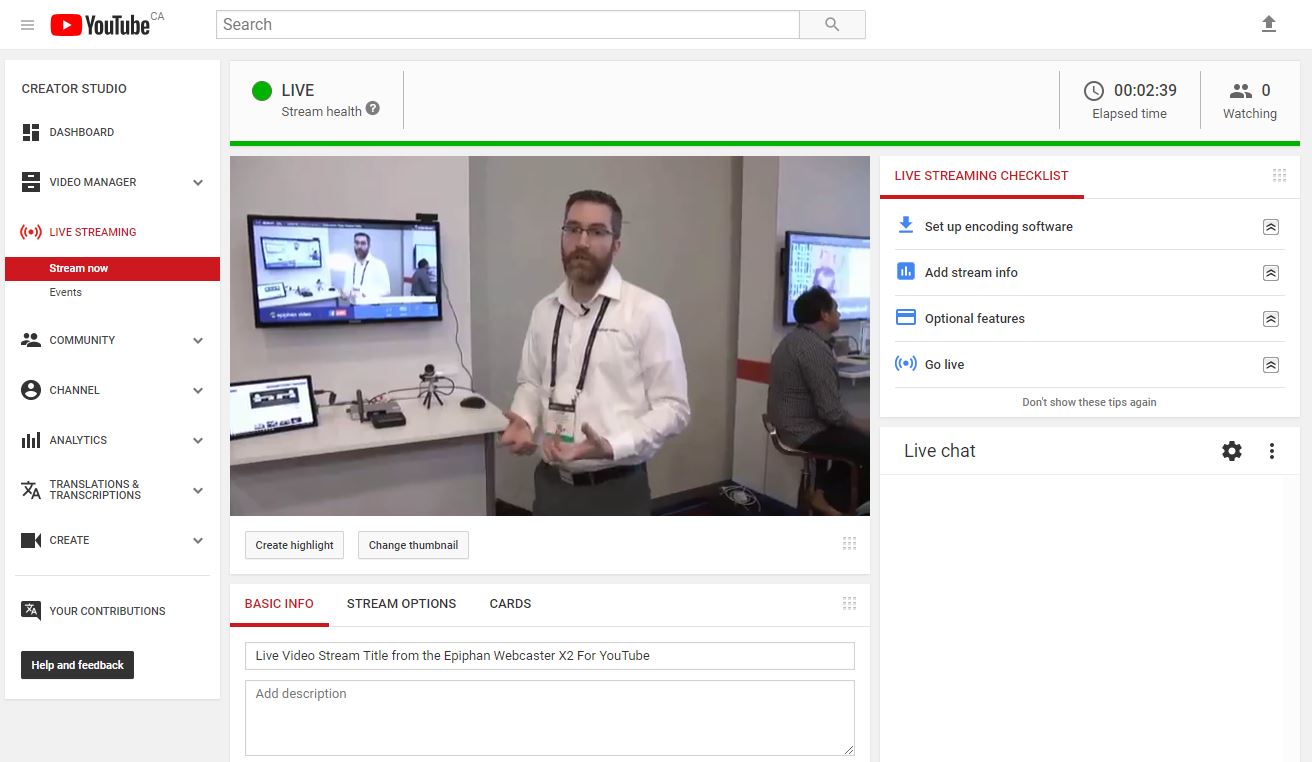
- When you're ready to start your live stream, press the multi-function power button once to start streaming. You're streaming live! The screen updates to show how long you have been streaming and the green LED flashes to remind you that you're streaming.
- (Optional) Change the stream title, description, or privacy settings before you stream.
- You can go to www.youtube.com/live_dashboard and set the description and privacy settings for your YouTube stream, or go to your Facebook account and make changes to the title, description, and privacy settings there.
- If you're Streaming now to your YouTube account, you can click the Preferences icon
 at the lower right corner of the screen on Webcaster X2 and select Video title (Stream now only) to enter a stream title, or select Privacy (Stream now only) to choose a privacy setting.
 - If streaming to your Facebook timeline, you can click the Preferences icon at the lower right corner of the screen on Webcaster X2 and select Video description to enter a description, or select Privacy (Timeline only) to choose a privacy setting.
- Go to your Twitch Dashboard and set the title of your live channel page under Settings. See the online help in Twitch for details.
- When your live broadcast is complete, press the multi-function power button to stop the stream.

Webcaster X2 supports other streaming platforms and more are being added all the time, see Stream to other third party apps.