Pearl Nano sample recording
When you power up Pearl Nano, you can start recording as soon as you connect a video source to one of the video input ports and have a formatted SD card installed.
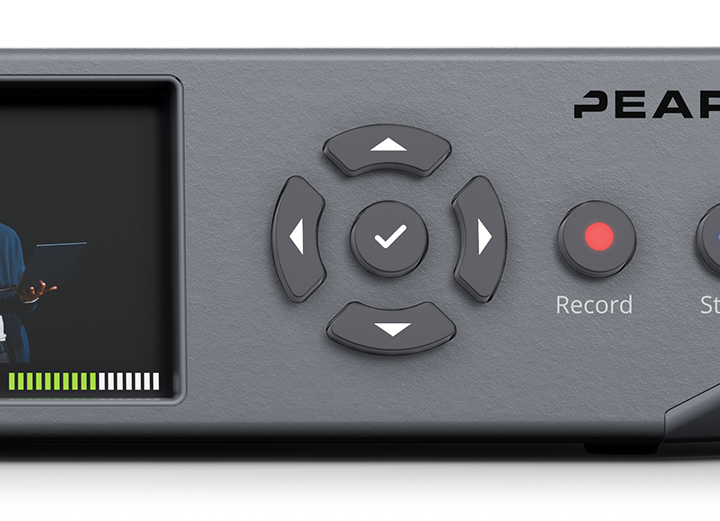
Record the default Auto channel using the Record control key
To record the default Auto channel using the control key on the front panel of Pearl Nano, simply press the Record key. When you're done, press the Record key again to stop. The Record key is lit red while recording is in progress.
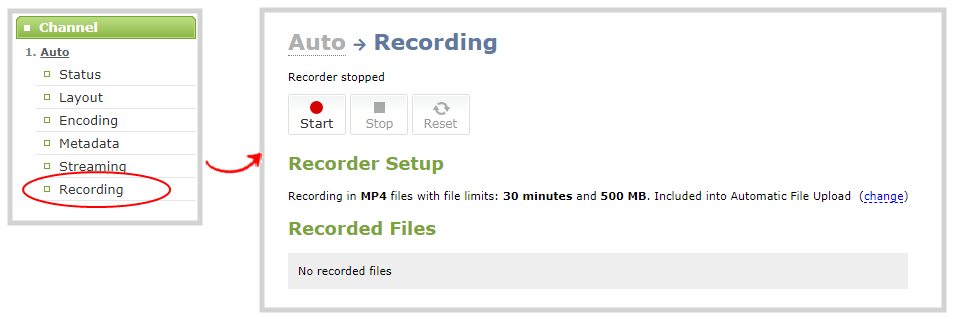
Record the default Auto channel and download the file using the Admin panel
The SD card uses the EXT4 format and you cannot manually transfer recordings off the SD card directly to iOS or Windows systems. Instead, download your recording using the Admin panel .
- Open a web browser on the admin computer and go to the IP address of your Pearl Nano and log in, see Access network IP address and Admin panel.
- From the Channel menu in the Admin panel, select your channel (i.e. Auto) and select Recording. The Recording page for the channel opens.
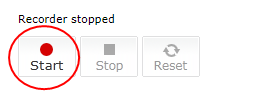
- Select Start to start recording the channel and click Stop when you're done.
- Refresh the page to see the newly recorded file appear in the Recorded Files list.
- Select the file in the list and download that recording to your admin computer.
Register Pearl Nano to get firmware updates
Keep Pearl Nano up-to-date and get all the latest features and firmware updates. Registering your Pearl Nano is free and only needs to be done once. You can register anytime from the Firmware update page using the Admin panel, see: Register your device.
