About the touch screen
The touch screen has many uses, including confidence monitoring, basic configuration and diagnostics, one-touch streaming and recording control, easy start/stop of scheduled events, and authentication with a Content Management System (CMS) to create unscheduled ad hoc recordings and webcasts.
The touch screen is capacitive. Use your finger or a specially designed soft-tipped capacitive stylus with firm but gentle pressure. Pressing too hard or using something other than a fingertip or capacitive stylus can result in damage to the screen.
When you power on the Pearl device, a grid view appears. The grid view displays all channels that are configured for your system. If you haven't created any channels yet, the grid view shows the two HDMI input ports by default (Auto-A and Auto-B on Pearl-2).
In this example, the grid view shows two video sources, which are plugged into HDMI video input ports A and B on the Pearl device.
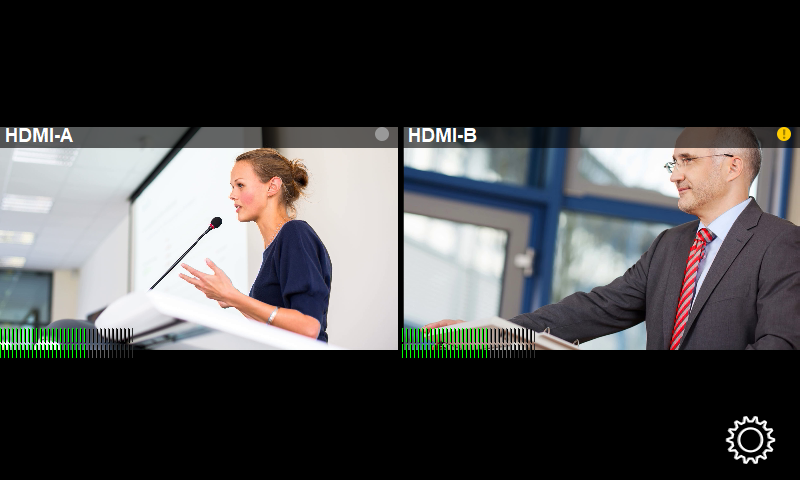
If no video sources are connected, or your sources aren't sending a signal, the grid view shows no signal images.
Tap a channel on the grid view to select it and go to that channel's view. You can tap the ![]() Grid icon to return to the grid view. Tap the gear icon at any time to go to system settings.
Grid icon to return to the grid view. Tap the gear icon at any time to go to system settings.

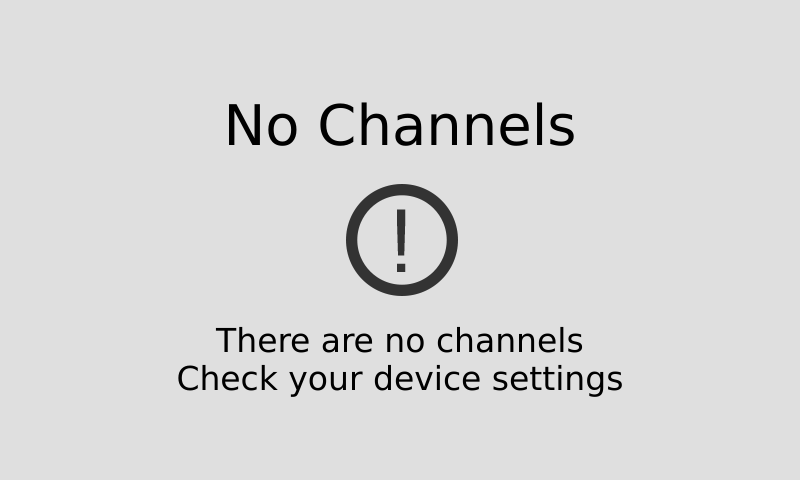
The No Channels screen
The No Channels screen appears if there are no channels configured on your Pearl Mini and the automatic channels Auto A and Auto B have been deleted. Tap anywhere on this screen to go to the system settings screen.
Enabling and disabling touch screen features
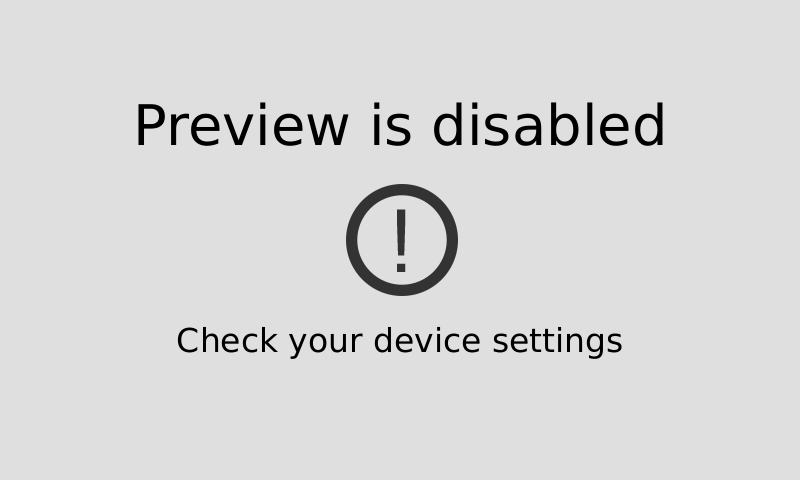
By default, the touch screen and all features except viewing the CMS Events screen are enabled. You can disable the touch screen and define which features are enabled on the touch screen. If the touch screen is configured to not show channel previews, tap anywhere on the screen to go to the system settings screen. See Configure the touch screen for details. For information about the CMS Events screen and icon, see CMS event controls using the touch screen.
When setting some features, a pop-up virtual keyboard appears. To enable using an external keyboard that you connect to one of the Pearl device's USB ports instead, see Connect an external keyboard.
