Add video sources or a channel as a source
You can add one or multiple video sources to any of the layouts for your channel using the custom layout editor. You can even add the output from another channel as a video input source.
When you add a channel as a video source in another channel, whatever is displaying live in that channel also displays in the other channel. This is useful when you need to stream the same switched program to multiple destinations that have different encoding settings. That's because the encoding settings are set at the channel level.
For example, to stream your switched program to YouTube at 1920×1080 and to Facebook at 1280×720, you could:
- Set up HDMI-A as Channel 1 and use this as your switched program channel. Add all your custom layouts to Channel 1 and stream this channel to YouTube at 1920×1080.
- Set up HDMI-B as Channel 2 and use this as your Facebook streaming channel. Configure Channel 2 with a single layout that uses Channel 1 as the video source, and then stream Channel 2 to Facebook at 1280×720.
For instructions to set up multi-encoded channels using the channel as a source feature, see Multi-encoding and channel as a source.
If more than one video source is added to a channel, we recommend configuring the channel encoding to use a fixed resolution as the frame size instead of automatically using the resolution of the video source as the frame size (default). A fixed channel resolution ensures that your channel displays properly at a fixed resolution
Add a video source
- Login to the Admin panel as admin, see Connect to Admin panel.
- From the
- In the Layouts list that appears at the top of the page, click a layout's row to select that layout or click Add new layout.
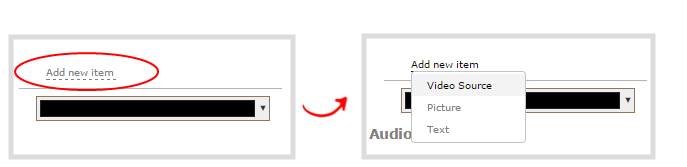
- Below the Layout editing area, click Add new item and select Video Source. The Source settings appear.
- Under Source settings, select either a video input or a channel in the Source drop-down menu.
- Under Source settings, select a video input in the Source drop-down menu.

For best results, check Keep aspect ratio when scaling in the Source settings.
The selected video source appears in the layout editing area.
When adding an RTSP network source, a preview image may not display in the layout area until you Save the layout. The preview can also appear to have no signal if the RTSP source is not currently sending content.
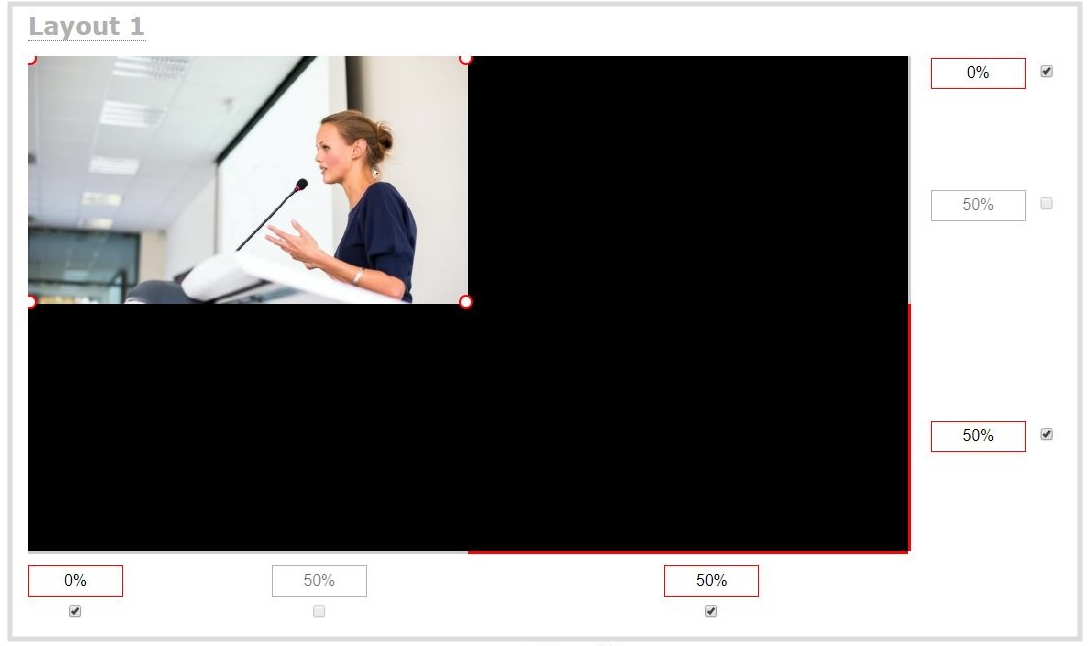
- Click and drag the red and white handles on the corners of the source to re-size it in the layout editor area. Alternatively, enter a value in the fields along the side and bottom of the layout editing area to resize the selected item. For a channel with only a single video source, it should fill the entire layout area. For a layout that includes multiple video sources, you can move, resize, or crop each video source to exactly how you want them to appear.
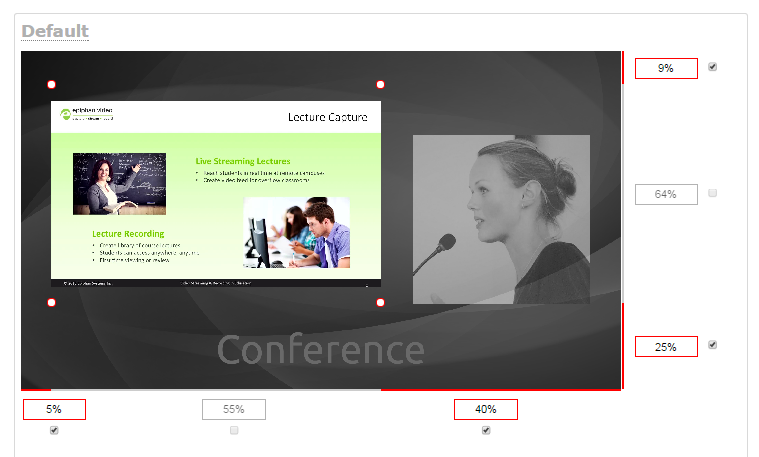
To layer video sources over top of each other, like for picture in picture, you can click and drag the video sources that appear in the item list beneath Add new item and change their order. Items that are higher up the list appear over top items that are lower down the list.
- Select an audio source from the list of audio sources.
If a channel is selected as the video source, the corresponding audio for that channel is selected automatically by default.
- Click Save.
A note about item positioning and sizing
There are multiple ways to position and size
- Using the mouse.
- Using the keyboard.
- Using the manual positioning values with percents.
- Using the manual positioning values with pixels.
To use the mouse:
Click and drag to move the item. Click and drag the round, red and white handles to resize an image
To use the keyboard:
Use the arrow keys on the keyboard to move the item up, down, left or right in the layout. Changes are in increments of approximately 5% of the height or width of the layout area. Press the Ctrl key while using the arrow keys to make more refined movements. To change the size of an image
Using percents:
Specify a whole number, followed by a percent sign (e.g. 4%) in any of the manual positioning fields. See Resize and position items using percents or pixels for more information.
Using pixels:
If you need to specify an exact amount in pixels (rather than percent) you can type a pixel value in any of the positioning value squares followed by the characters px (e.g. 56px). You can mix and match pixels and percents changing only the boxes you want to use pixel values. At any time you can switch back to percents by typing a percent. See Resize and position items using percents or pixels for more information.
