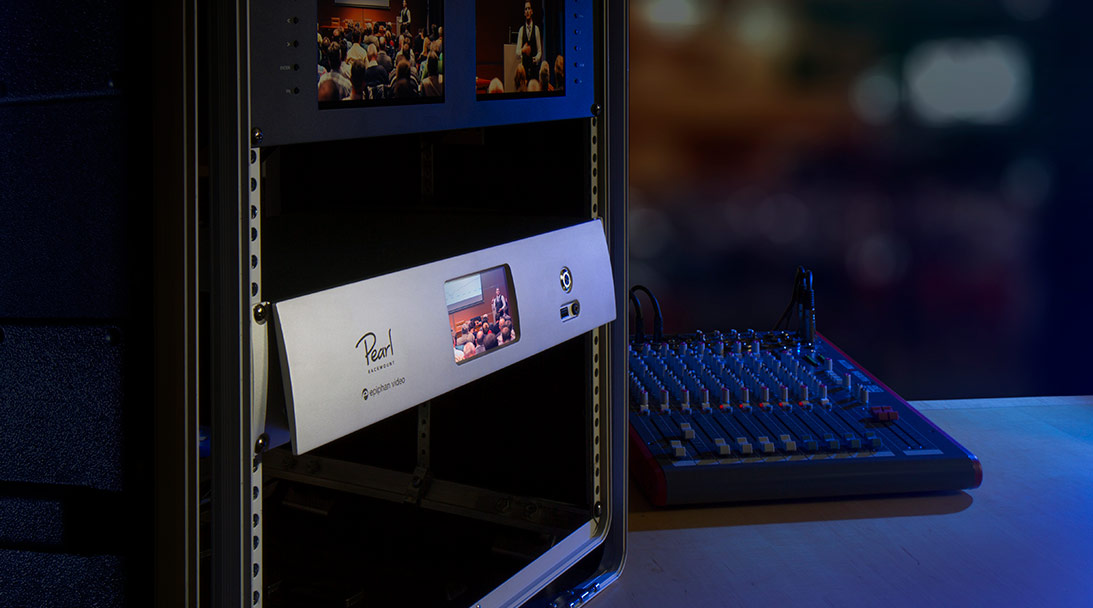
Firmware 3.16.0 was released for Pearl in early February 2016, and with it comes new features such as DisplayPort video outputs, touch screen streaming control, two new Pearl models and portable configuration presets.
Today I’m going to focus on the portable configuration presets feature, describe its use in Pro AV and illustrate how it can help streamline the setup process in your next Pro AV live event.
Time is money!
“Portable configuration presets are useful for managing a group (or “fleet”) of Pearl systems. You can configure a single Pearl for your campus, upcoming live event or fixed installation and duplicate your configuration to other Pearls within your fleet. This ability to apply configuration settings across your Pearl appliances is not only highly convenient, but saves you valuable time and effort in your streaming/recording setup.
With portable configuration presets, you can pre-prepare the following configurations on your Pearl:
- System-level settings
- Video sources
- AFU (automatic file upload)
- Network information
- Channels (simple or custom)
- EDIDs (extended display identification data)
- Video output ports
- Touch screen settings
When you’re satisfied with your Pearl’s configuration settings, you can save them to a group – a configuration preset. You can then easily apply your preset whenever the need arises to call upon and use the configuration setup you specified.
You can also download the configuration preset from a single Pearl and apply it to other Pearl systems – thus the term portable configuration preset. Pretty neat!
Here’s an illustration
Your company is hired to stream and record a large conference. Within this conference, you’re tasked with recording a keynote presentation and 10 different breakout sessions:
The keynote session has the following requirements:
- uses 2 video sources
- requires a picture in picture (PiP) custom channel containing both sources, a custom background, and corporate branding
- must be output to an external video display
- must be automatically uploaded to an ftp server for later use
The 10 breakout sessions all use the same requirements:
- uses 2 sources on a custom background with a text overlay.
- requires a basic PiP custom channel containing both sources, a custom background and a transparent PNG with the name of the breakout group and date
- must be automatically uploaded to an ftp server for later use
Before the conference, you would create one preset for the keynote session and another preset for the 10 breakout sessions. Each preset includes all your image, branding and background files and remembers exactly how you positioned your sources, images and layouts to recreate a custom channel tailored for each session. It also recalls network and automatic file upload (AFU) information to easily connect and upload to the conference’s ftp server.
To create the keynote event preset:
- Create a new custom channel
- Upload and position your gray background image
- Upload and position the company’s logo
- Add your two video sources and position/re-size them accordingly
- Configure the network (using conference’s ip address)
- “Configure AFU (using ftp server information)
- Customize video output settings
- Save the settings as a configuration preset titled KEYNOTE
To create the breakout session preset:
- Create a new custom channel
- Upload and position your blue background image
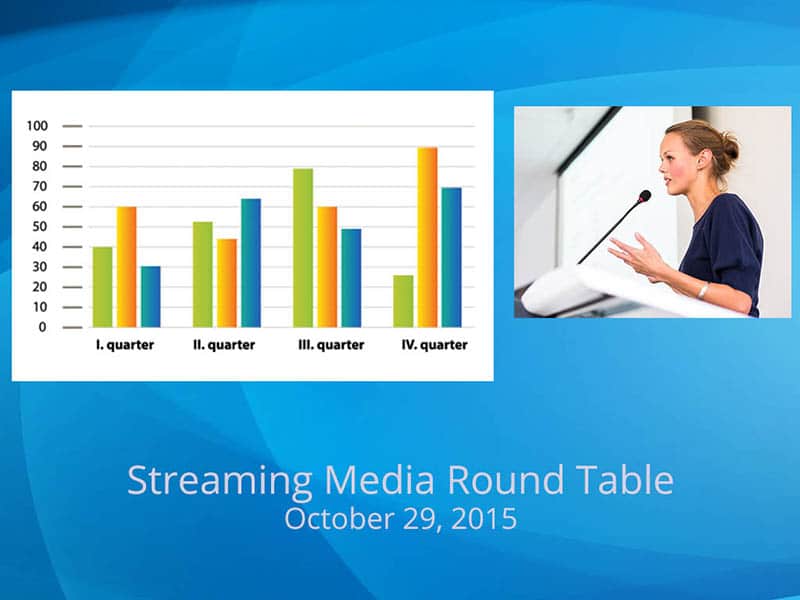
- Add the “Streaming Media Round Table” transparent PNG
- Add your two video sources and position/re-size them accordingly
- Configure the network (using conference’s ip address)
- Configure AFU (using ftp server information)
- Save settings as a configuration preset titled BREAKOUT
The final step you need to do is upload both presets to every Pearl you plan to bring with you.
Once at the conference, it doesn’t matter which Pearl goes where since all Pearls have been pre-uploaded with both configuration presets! And once your Pearls are physically set up and connected to their respective video sources, all you have to do is apply the relevant (either KEYNOTE or BREAKOUT) configuration preset with a few presses on the touchscreen and – voila! You’re ready to capture!
Summary
The scenario described above is but one example of how you might use Pearl’s portable configuration presets to easily and quickly manage your Pearl’s settings. Portable configuration presets are a versatile and convenient tool that helps to manage a fleet of Pearls and simplify the setup process in your next live event.
Give it a try yourself to see what I mean!
Portable configuration is a nice added feature. What about portable layout inside a Pearl box?
I often need to have several layouts in a channel where only a few things are different, for example name of a speaker. So it would be very helpful to be able to copy a layout and then modify only the part needed.