Hosting a guest on your live stream is an excellent way to add value to your broadcast and enrich your content with outside expertise or an influential personality. While the process requires a bit of extra effort, the set-up and configuration is easier than you think using popular video chat service, Skype.
Why invite someone on your live stream?
You’re likely already familiar with guest hosting on live broadcasts in the media. News broadcasts, for example, often use this strategy to conduct guest interviews in real time across settings and time zones. In these larger media companies, guest hosting is often accomplished using satellite trucks to capture and sync the guest’s video feed with the main broadcast. However, assuming you don’t have access to such expensive equipment (and I’m sure many of us don’t!), then Skype makes for an effective and far less complex substitute for hosting guests.
Bringing in a third party makes your live stream more attractive to viewers because guests can offer new perspectives, promote thoughtful discussion, and introduce new and interesting subject matter. Hosting a guest is also an excellent opportunity to collaborate with other influencers in your field and introduce your guest’s followers to your unique brand.
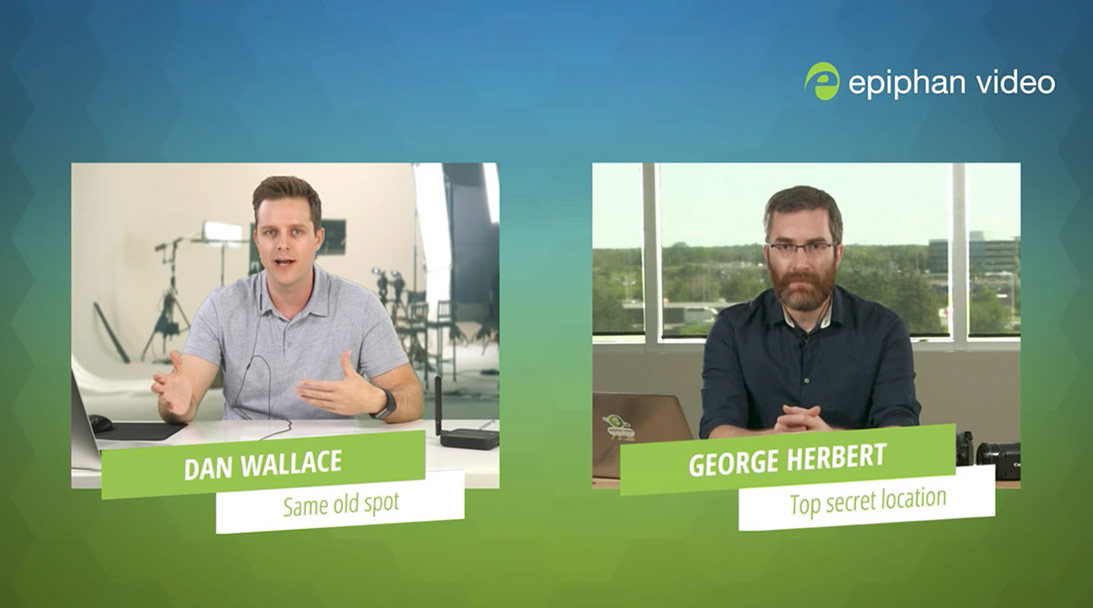
For an example of what this looks like, check out our Live @ Epiphan show where we describe in detail how to host a guest on your live stream using Skype.
Equipment needed
To host a guest on your live stream, your setup is broken down into two parts – the live show setup on your end, and the setup needed to interview your guest.
In this example, we’ll describe the setup and equipment we use for our own Live @ Epiphan show when we host guests.
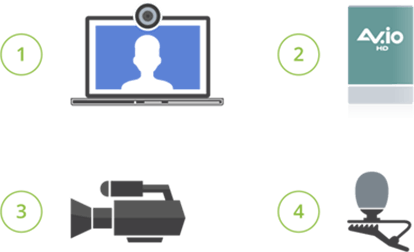
So for setting up the host’s end, you’ll need:
- An encoder (such as our Pearl-2)
- A laptop with embedded webcam and HDMI out
- A high-definition camera with HDMI out
- A sound board
- Earbuds, Earbud / headphone splitter
- A shotgun mic
 And for setting up on the guest’s end, you’ll need:
- A laptop with embedded webcam and mic
OR
- A laptop
- An AV.io HD portable capture card (recommended)
- An HD camera (recommended)
- A lav mic (recommended)
Host setup
When we host guests on our Live @ Epiphan shows, we use our Pearl-2 “all in one” live production switcher. Pearl-2 is a powerful multi-encoder that lets you configure picture-in-picture layouts and push your stream to multiple endpoints simultaneously, such as Facebook Live or YouTube.
Pearl-2 basically acts as a “hub” for all your video and audio sources. As shown in the diagram below, you’ll first want to connect your shotgun mic to your sound board, and then connect your sound board to your camera. Both the camera and the laptop (running Skype) are then connected to Pearl-2 via HDMI.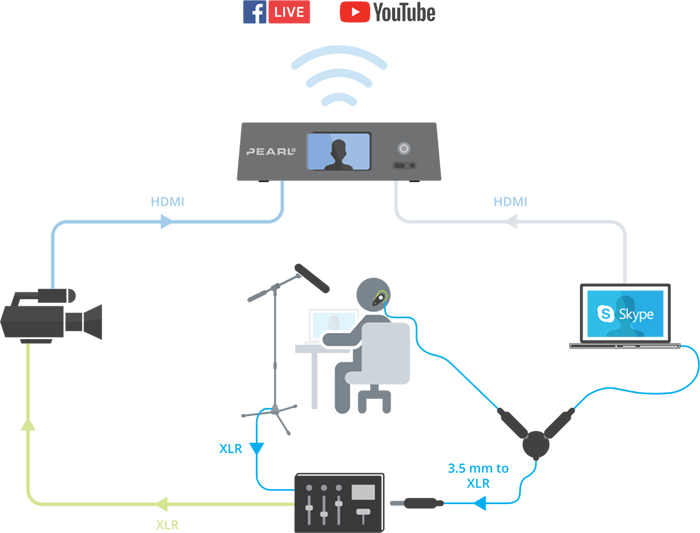 The host needs to use earbuds to hear what the guest is saying. Without earbuds, the guest’s audio would be transmitted through the laptop speakers and captured by the shotgun mic, creating a nasty feedback loop. To fix this problem, you’ll need to use a headphone splitter to create a signal for both your earbuds and the sound board.
We also recommend taking advantage of Pearl-2’s HDMI output by connecting it to a display monitor positioned above your camera. This way you can monitor your live stream and ensure you’re making eye contact with your viewers. Your guest will see you at an awkward angle through the laptop’s webcam, but this is OK considering the guest’s perspective won’t be seen by viewers of your live stream. As long as the guest can hear you clearly, it shouldn’t matter of their viewing angle isn’t perfect. Just remember to inform them of this indirect angle before the show!
With the physical set-up complete, you’ll then need to configure your custom layouts to show your camera and the guest’s camera (brought in through Pearl-2 via your laptop’s HDMI output) plus whatever overlays or background images you prefer. The process for doing this is simple. Check out our Pearl-2 user guide topic on creating a custom layout for more information.
Guest setup
The setup process on the guest’s end is fairly basic. All the guest needs is a laptop with an embedded webcam and mic to connect with the host’s Skype call. However, built-in webcams are usually low quality and yield odd and unprofessional angles (due to the camera being embedded in the screen). Built-in laptop mics are also poor choices as they tend to pick up unwanted background noise.
For a truly professional feel, use an HD camera with an AV.io HD portable capture card. AV.io devices convert your camera’s HDMI signal to USB with no configuration required and are automatically recognized as webcams by Skype.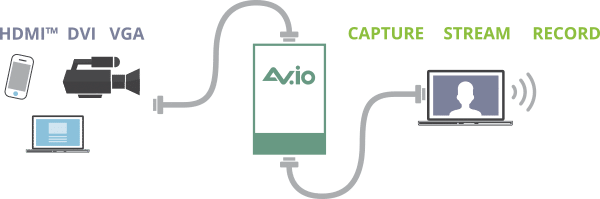 For professional audio, use a lav mic to capture audio instead of using the laptop’s embedded mic. The lav mic mounts on the guest’s clothing near their mouth and connects to the camera to transmit both video and audio through AV.io HD and into Skype. Lav mics are preferable because they provide better audio quality than an embedded mic while also allowing the guest freedom of movement as needed.
Eliminate latency between host and guest
Synchronization is a common concern when hosting a guest on a live stream. If you have video or audio delay then the overall quality of your broadcast will greatly suffer as a result.
We often see people use complex setups with multiple encoders that link to a central point before broadcasting. This kind of setup typically experiences some degree of sync issues. The key to ensuring synchronicity is to tie everything together before it all goes into your encoder, as shown in the setup diagram above. And since your Skype call is a video input source on Pearl-2, the guest will be synchronized as long as their video and audio is running directly into Skype.
Just remember to always take the path of least resistance and you’ll be fine.
For more information on hosting a guest on your live stream with Skype and Pearl-2, check out our Live @ Epiphan show where hosts Dan and George take you through the process in greater detail:
This is one of the clearest and jargonless description on setting this up. Bravo. Can you recommend a relatively low cost HD video camera with HDMI out? Also, are there any apps for putting a digital background for Skype you can suggest?