Camtasia Studio is a popular software package for recording screencasts and publishing them in various formats, including RealPlayer, QuickTime, and Adobe Flash FLV. It is also compatible with Epiphan’s AV.io HD and DVI2USB 3.0 video grabber devices.
Step 1: Connect your AV.io HD or DVI2USB 3.0 and start Camtasia Studio Software.
Before starting the capture software, you need to connect the video grabber to your source and to your capture computer.
- Turn on your video source.
- Connect the source to the AV.io HD or DVI2USB 3.0 video grabber using the provided cables and/or adapters.
- Connect the video grabber to the capture computer using the provided USB 3.0 cable. Plug it into a USB 3.0 port on the computer for best performance.
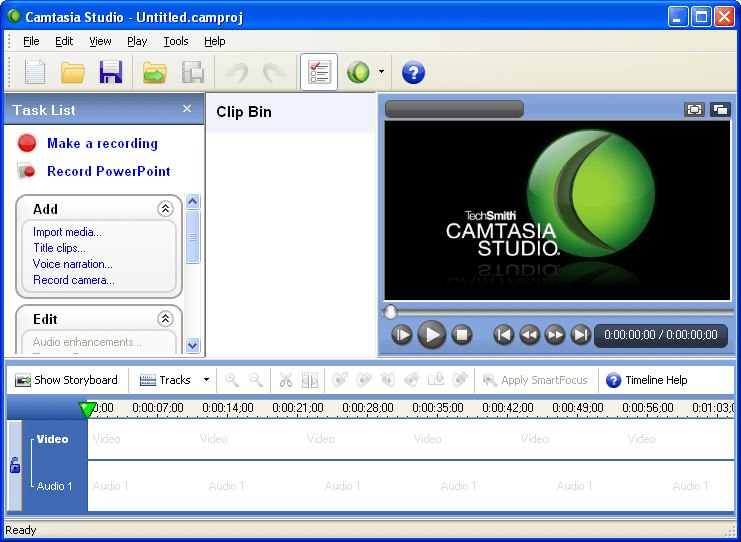
- Launch Camtasia. If a welcome screen appears, close it.
- The Camtasia window looks like this:
Step 2: Configure Camtasia to record from AV.io HD or DVI2USB 3.0
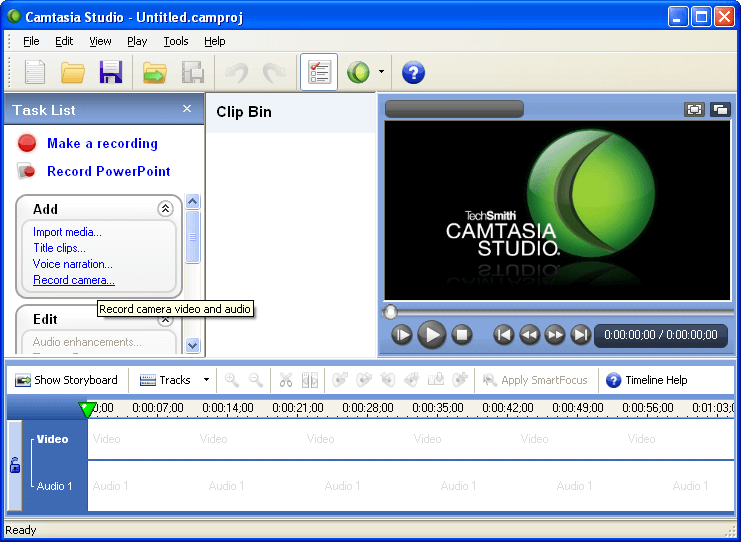
- Click Record camera… under the Add navigation menu on the left side of the screen (below Make a recording and Record PowerPoint).
- A camera preview screen similar to this appears.
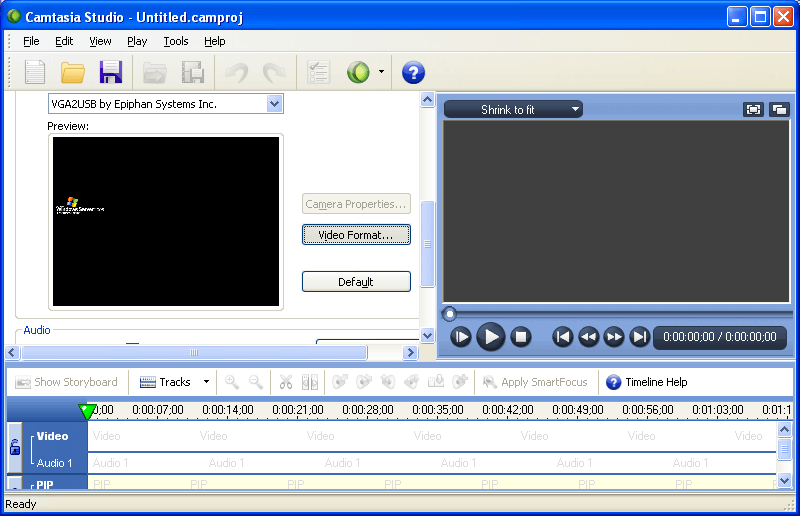
- If desired, click Video Format… button and change the default frame rate and resolution.
Step 3: Record Output
You are now ready to record the incoming video stream being captured by your video grabber.
- Click Start Recording to begin; the button text changes to Stop Recording.
- When you have completed your recording, click Stop Recording; using the provided dialog box, choose a folder and filename to save the video to your hard disk.
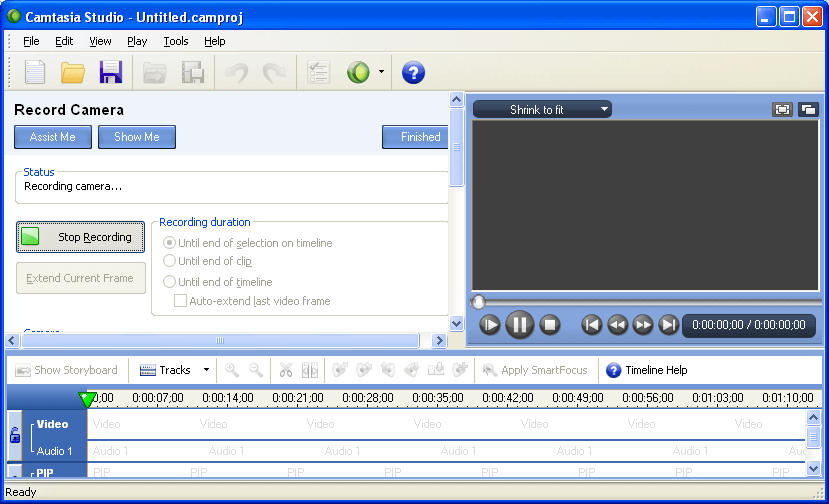
- Click Finished to return to the main screen.
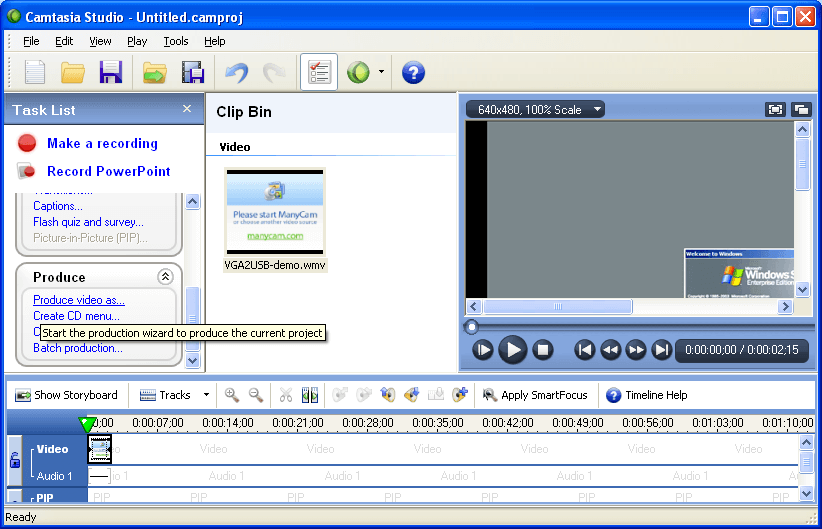
Step 4: Add your saved recording to the timeline
- Drag the recording from the Clip Bin to the timeline at the bottom of the sreen.
- You are prompted to set settings for the output resolution. Unless you want to resize the video, select Recording Dimensions from the All drop-down menu to retain the same resolution as your recording.
- Click OK to leave this menu.
Step 5: Publish your video
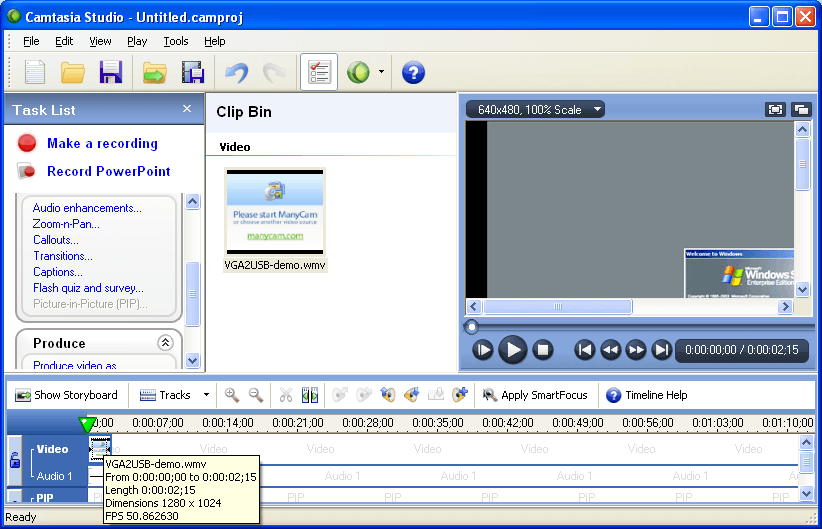
- Your recorded video should now be on the timeline. Hovering your mouse over it will reveal the video’s resolution, duration, and frame rate.
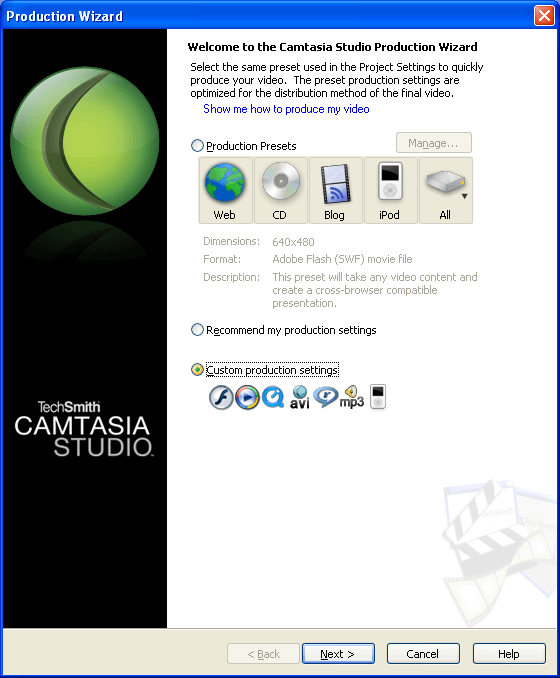
- Once you are ready to publish the video, click Produce video as… from the Product section on the left side of the screen. The Production Wizard loads.

- If you are publishing to the web or to a mobile device, you may select one of the production presets. In this tutorial, you will be shown how to create custom production settings. Click the “Custom production settings” radio button and click “Next”
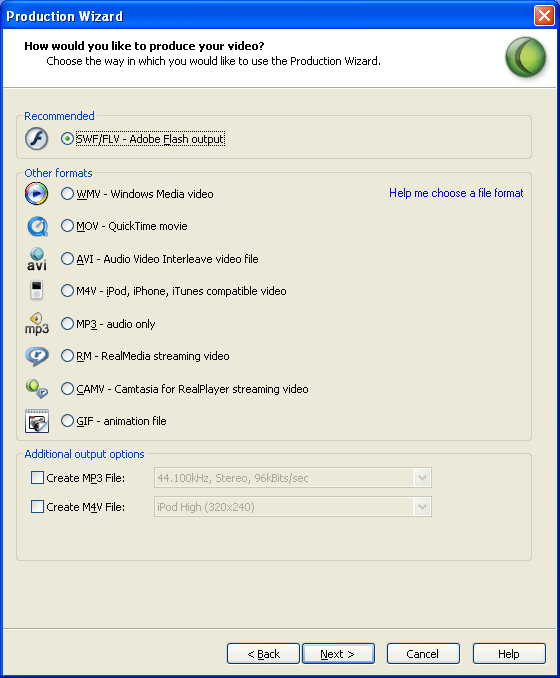
- In this tutorial, we will create Adobe Flash compatible file for web playback. Select “SWF/FLV – Adobe Flash output” and then click “Next”
- On the next screen, you may select a desired output resolution from the “Fit in” dropdown menu.
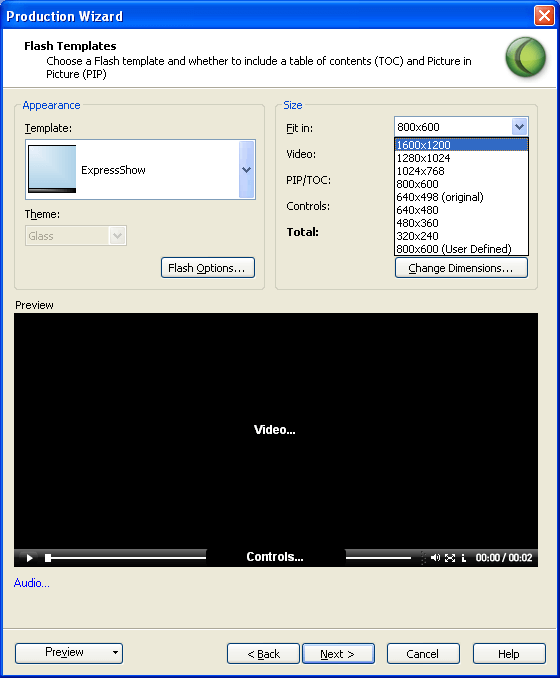
- By default, your video is saved as .SWF for web playback. If you would like to save as .FLV, that option may be selected by clicking on the “Flash Options…” button. Click on “Next” once you are done choosing options.
- On the next wizard screen, you may select the option “Embed Video into HTML” if you would like to generate HTML files for direct and easy uploading to the web.

- You are now ready to publish the video. Name the production name and choose a destination for it. Then click on “Finish” in order to publish.
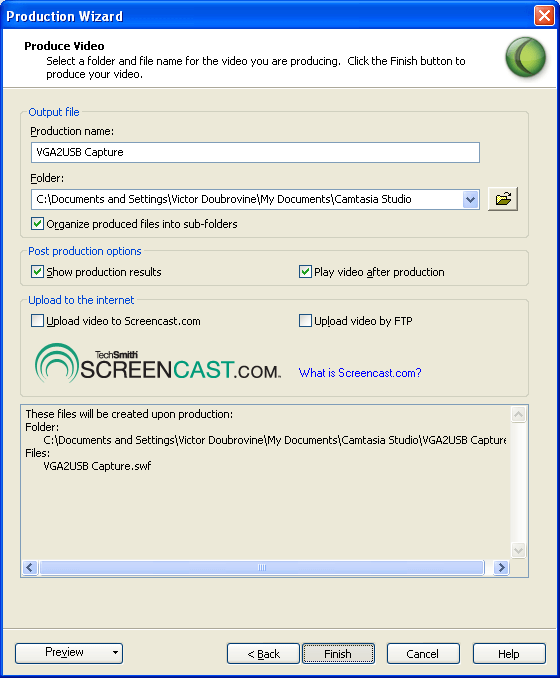
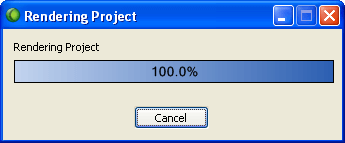
- Your production is now complete!