When you need to live stream to large online audiences and be able not just to capture, but add production capabilities, including sound, transitions, virtual sets and scoreboards, then you’ll want to use Telestream Wirecast® software. With Wirecast you can capture your cameras or devices using Epiphan capture cards, video grabbers or broadcasting and recording products then pull them all together in a easy and affordable way for your online audience. Create professional-looking news, online gaming, internet shows, sporting events, concerts, church services, corporate meetings, lectures and more.
Prerequisites
- Any video source with VGA/DVI/HDMI™ output, in this example a secondary laptop
- An Epiphan DVI2USB 3.0™ or other Epiphan grabber or broadcaster/recorder
- A capture laptop pre-installed with Wirecast and the Epiphan Capture Tool
- Access to a destination streaming server or service
How to connect your source to the DVI2USB 3.0 and Wirecast software
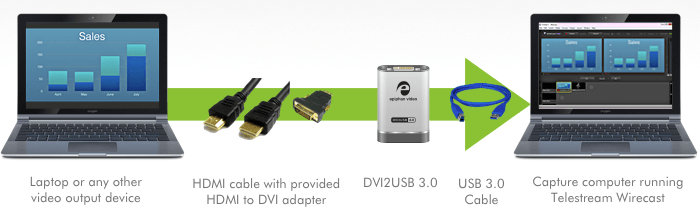
Step 1. Connecting the devices
Connect DVI2USB 3.0 to your capture computer via USB 3.0 (or USB 2.0); connect your video source (in this case another laptop) to DVI2USB 3.0. Make sure that video signal is recognized properly by viewing with the Epiphan Capture Tool.
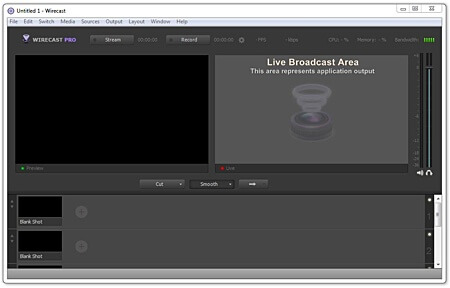
Step 2. Open the Wirecast application
Open the Telestream Wirecast application. Once open, the interface looks like this.
Step 3. Add your Source(s)
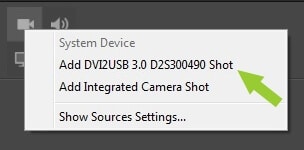
- Place your cursor over the ‘+’ Button
 to add a new source; it changes to these four buttons
  .
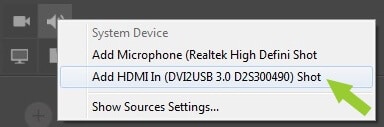
. - Choose the camera button to add the DVI2USB 3.0 as a video source.
- If your video source has HDMI-embedded audio, choose the speaker and select the Audio feed for DVI2USB 3.0.
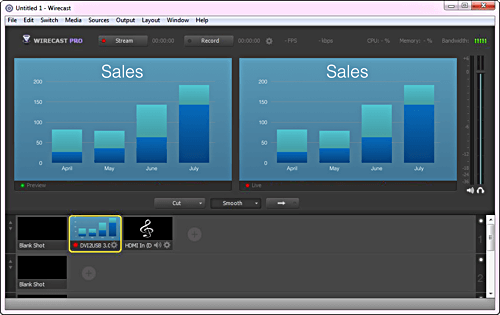
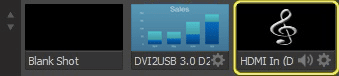
- Now that your video sources are added, you can manipulate them within Wirecast.
Step 4. Setting up the Streaming destination
With the Wirecast application you can choose between different existing presets to stream to popular CDNs like Ustream, LimeLight or YouTube (requires an active account and channel (live event)) and your own RTMP Streaming Server.
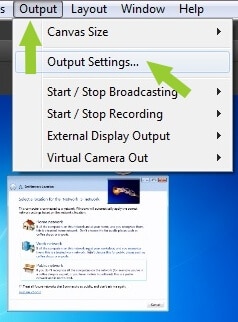
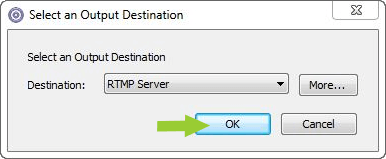
- Choose the ‘Output‘ menu from the program window ribbon then click ‘Output Settings‘ from the drop down menu; the “Select an Output Destination” window appears.
- Select a destionation from the ‘Output Destination’ drop down field. Optionally, click ‘More’ to choose from other destinations that are not already in drop down menu choices.
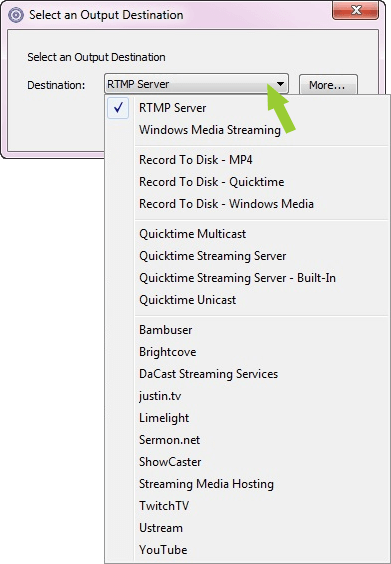
- Click ‘OK’; the configuration window appears.
- If you choose the stream to a commercial CDN (like Ustream, LiveStream etc.) you will have to authenticate your service account with Wirecast. Follow the Wirecast instructions and allow it to manage your CDN streaming account.
- Wirecast synchronizes with your account and acquires streaming settings set with your CDN (for example, please refer to Creating a Live Video Stream on YouTube Using Wirecast to see how Wirecast takes in settings from YouTube Live.
- If you want to stream to a Flash Streaming Server (like Flash Media Server, Wowza etc), choose the RTMP Server option.
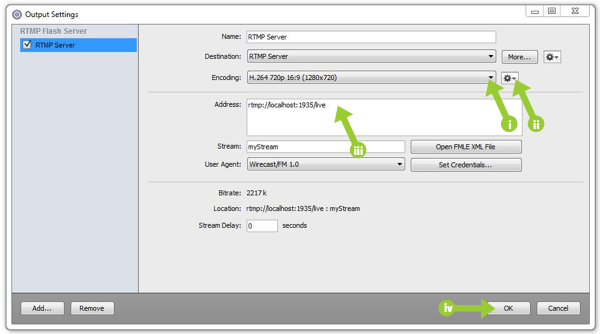
- Choose your encoding options from the Encoding dropdown field.
- If more encoding options have to be adjusted (like bitrate, Key frame interval, etc.), click the encoding gear icon and make your adjustments.
- Input the server address and streaming port(s) in the Address field, as shown.
- Click ‘OK’ to confirm the settings.
Step 5. Starting the Stream
- Press the ‘Stream’ button
 to start streaming; the streamed (live) video appears in the right-side panel.
 - To push the captured video source from ‘Preview’ window to ‘Live’ window, press this button: