
![]() Moodle is a learning platform designed to provide educators, administrators and learners with a single robust, secure and integrated system to create personalized personalized learning environments.
Moodle is a learning platform designed to provide educators, administrators and learners with a single robust, secure and integrated system to create personalized personalized learning environments.
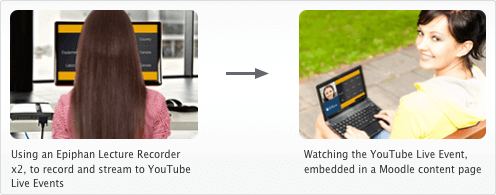
Prerequisites: In this guide, learn how to use YouTube Live Events, at no cost, along with an Epiphan DVI2USB 3.0 and Lecture Recorder x2 to create a live video stream to embed into your Moodle content page. Your students will stay focused on your video lesson in Moodle, avoiding the distraction of sending them to YouTube. Optionally, when your YouTube Live Event is over, the recording can stay embedded on your Moodle content page and will be available on-demand for future lessons.
- A YouTube Account
- An installation of Moodle and privileges to allow you to edit content for your course, lesson or content page.
- An Epiphan frame or video grabber:
- For sharing one video source; Epiphan DVI2USB 3.0, with a computer that will connect to it.
- With this option, you’ll also need a computer to connect the DVI2USB 3.0 to, along with software from Telestream (Wirecast for YouTube) or from Adobe (Flash Media Live Encoder)
- For sharing two video sources; Epiphan Lecture Recorder x2
- For sharing one video source; Epiphan DVI2USB 3.0, with a computer that will connect to it.
- A device or devices that have a video source you want to capture. The device must have a video-out port (e.g. HDMI™, DVI, VGA, Component, S-Video etc) or a cable that converts to video out.
- Optionally: A video switcher if you want to connect multiple video devices and switch them on the fly during your Live stream
Step 1: Connecting your setup
Option 1: Using a DVI2USB3.0 and an optional video switcher

- Connect your video sources to the video switcher (webcam, computer, tablet or other devices with a video output)
- Connect the output of that video switcher to your DVI2USB 3.0
- Connect the DVI2USB to any computer capable of running either Wirecast for YouTube or Adobe Flash Media Live Encoder.
- If you don’t need a switcher, you could simply connect one device at a time directly to the DVI2USB 3.0
Option 2: Using a Lecture Recorder x2 and a optional video switcher

- Connect your video sources to the video switcher (secondary webcam, computer, tablet or other devices with a video output)
- Connect your video camera directly to the Lecture Recorder x2
- Connect the output of that video switcher to your Lecture Recorder x2
- If you don’t need a switcher, you could plug-in two devices at a time directly to the Lecture Recorder x2
Step 2: Creating a YouTube Live Event and setting up your video stream
- If you are using an Epiphan Video Grabber (such as the DVI2USB 3.0), please refer to the following guides for assistance with setting up a YouTube Live Event.
- Using an Epiphan streaming device (broadcaster or recorder such as a Lecture Recorder x2) please refer to the following guide for assistance setting up your YouTube Live Event.
Step 3: Adding your YouTube Live Event Stream into Moodle
- Confirm that you can view the Watch Page of your YouTube Live Event by following the steps listed in the links above.
- Log in to Moodle (as an administrator of your Content Pages or Course).
- Browse to the course where you want to embed the YouTube Live Event stream and select the Turn editing on button.
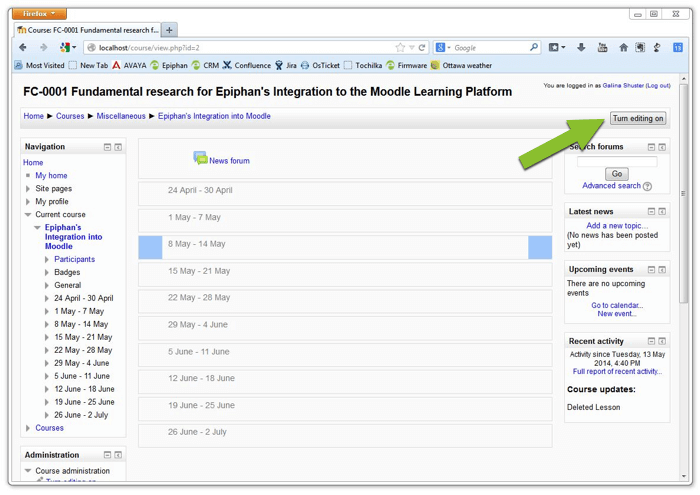
- After “Turn editing on” is enabled:
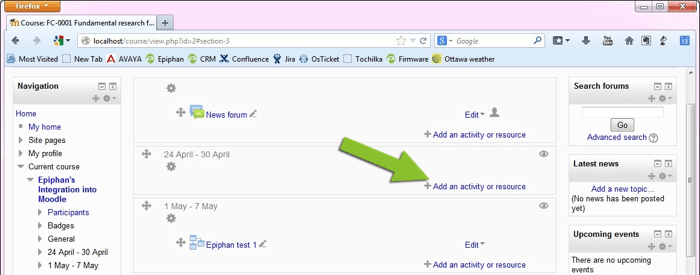
- Select the Add activity or resource item in the desired area of your course; the Add activity or resource dialog appears.
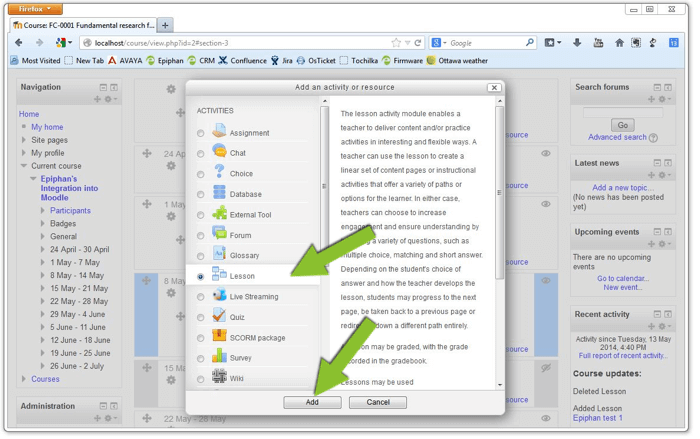
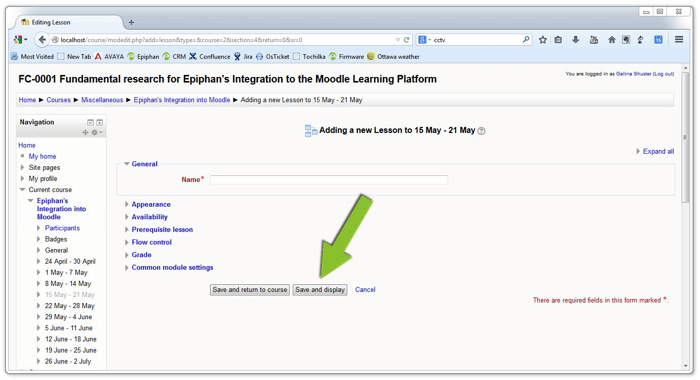
- Select the Lesson option, then click Add; a dialog window will appear where you are prompted to enter details about the new activity.
- Complete the required fields for this new lesson. Click the Save and display button when finished.
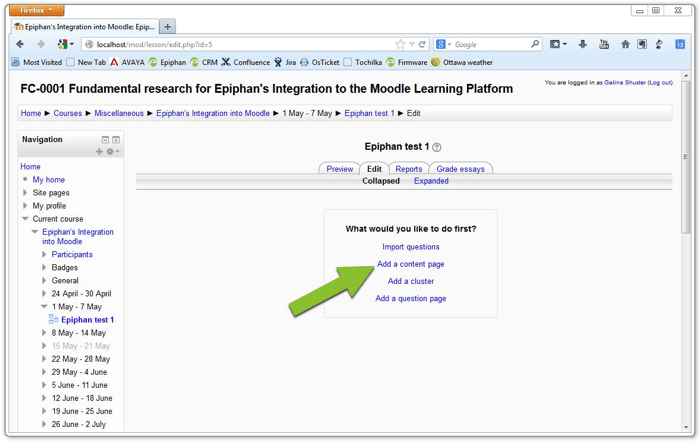
- Your lesson is displayed.
- Select the Add a content page link to add the video stream to your lesson; the Content page opens.
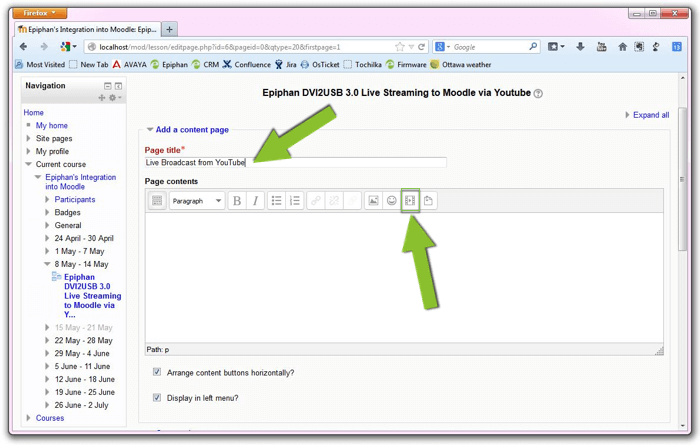
- In the Add a content page window, enter values for Page title and Description. On the Page contents tool bar, click the video button to choose the video source; the Insert Moodle Media window opens.
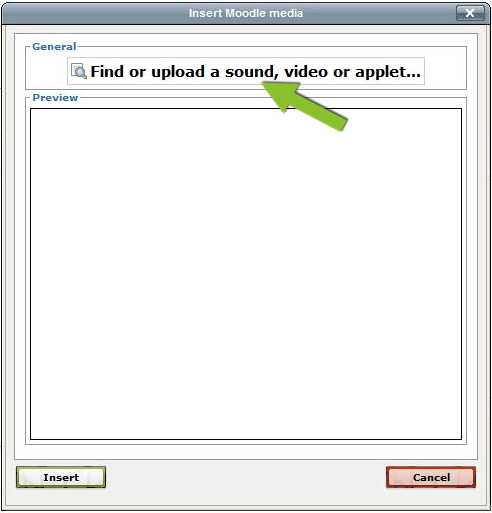
- In the Insert Moodle media window, select the Find or upload a sound, video or applet… button; the file picker opens.
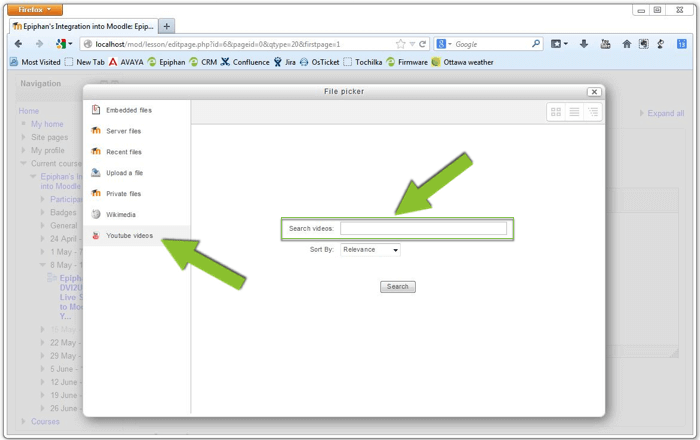
- In the File picker window, select YouTube Videos. Paste your YouTube Live Event’s Watch Page URL in the Search field and click Search; Moodle will access the URL and display it in the next window.
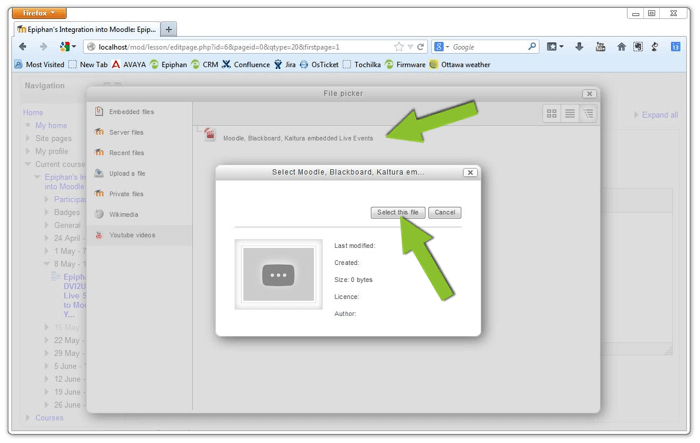
- When your event is displayed by Moodle, select the result; another pop-up window appears. Click the Select this file button.
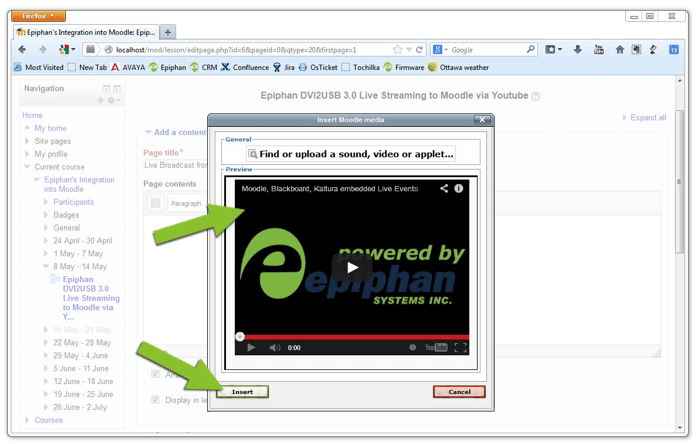
- Moodle shows you a preview of your YouTube Live Event stream. Click Insert to add it to the content page.
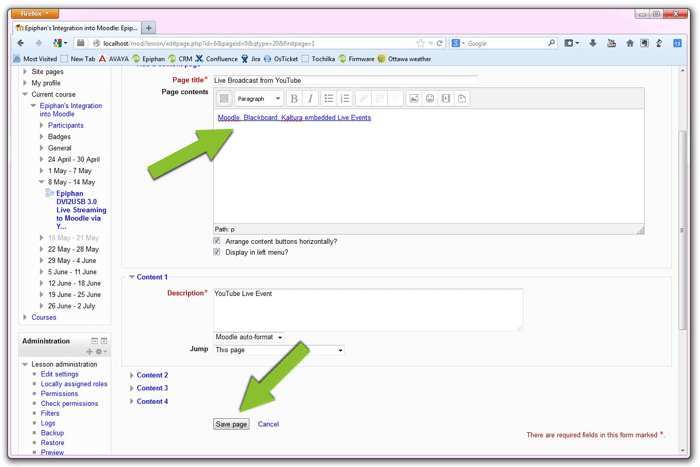
- The Content Page displays your video as a hypertext link. This is normal while in “editing” mode. Click the Save page button at the bottom of this window; Moodle saves the changes and updates the lesson with your Live Event.
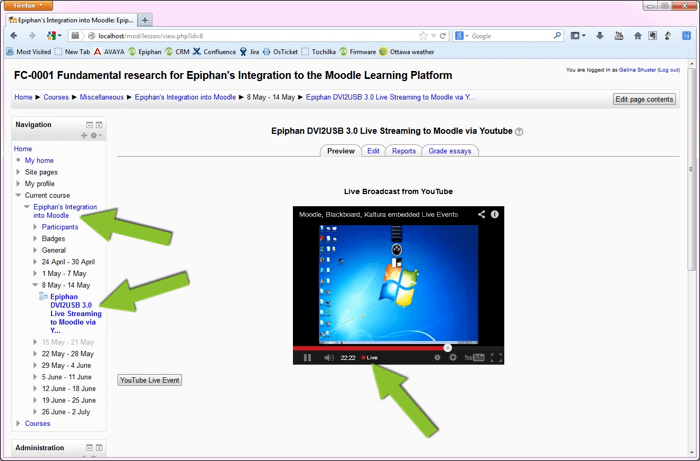
- Return to the Edit tab on your content page, and select the Preview tab to see your YouTube Live Event stream embedded into your content page.
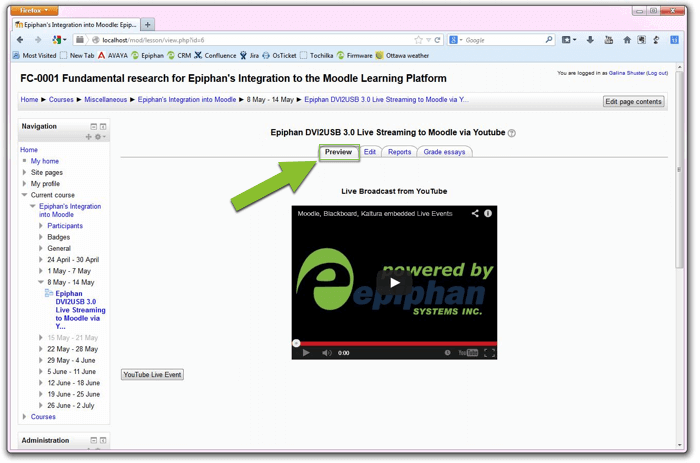
- When you are finished editing your course, return to your course homepage and browse back to the lesson you’ve edited to see your live stream.
- Select the Add activity or resource item in the desired area of your course; the Add activity or resource dialog appears.